

First look at the Authentikit replica PA24 TPM Module
A few days ago I received an email from a company called Authentikit, asking if I might like to take a look at their PA24 “TPM” module for Microsoft Flight Simulator. TPM stands for “Throttle, Propeller and Mixture” - and in this case is a replica of the controls seen in the PA24 Comanche in Microsoft Flight Simulator.
Authentikit are working together with SKS (Sim Kit Supplies), who package the parts list to create home-build projects - saving you lots of time sourcing and ordering materials.
In the video I have documented the unboxing, build, and testing of the PA24 TPM module, and thought it would be useful to share the photos that appear in the middle of the video and discuss the build a little further.
It’s worth noting that I’ve never built anything like this before - beyond LEGO when I was young, or occasional IKEA furniture, this was all new to me. Although I work as a software developer, it’s a good 20 years since I last built a PC.
It’s also worth noting that while many people might find time to build the TPM Module in an afternoon, it took me the better part of a week. I’ve often joked that I tend to only record videos late at night - that came back to haunt me with this project. It really helps to have good lighting while working on the wiring - the ensure you make no mistakes - so I took my time rather than rush. It paid off.
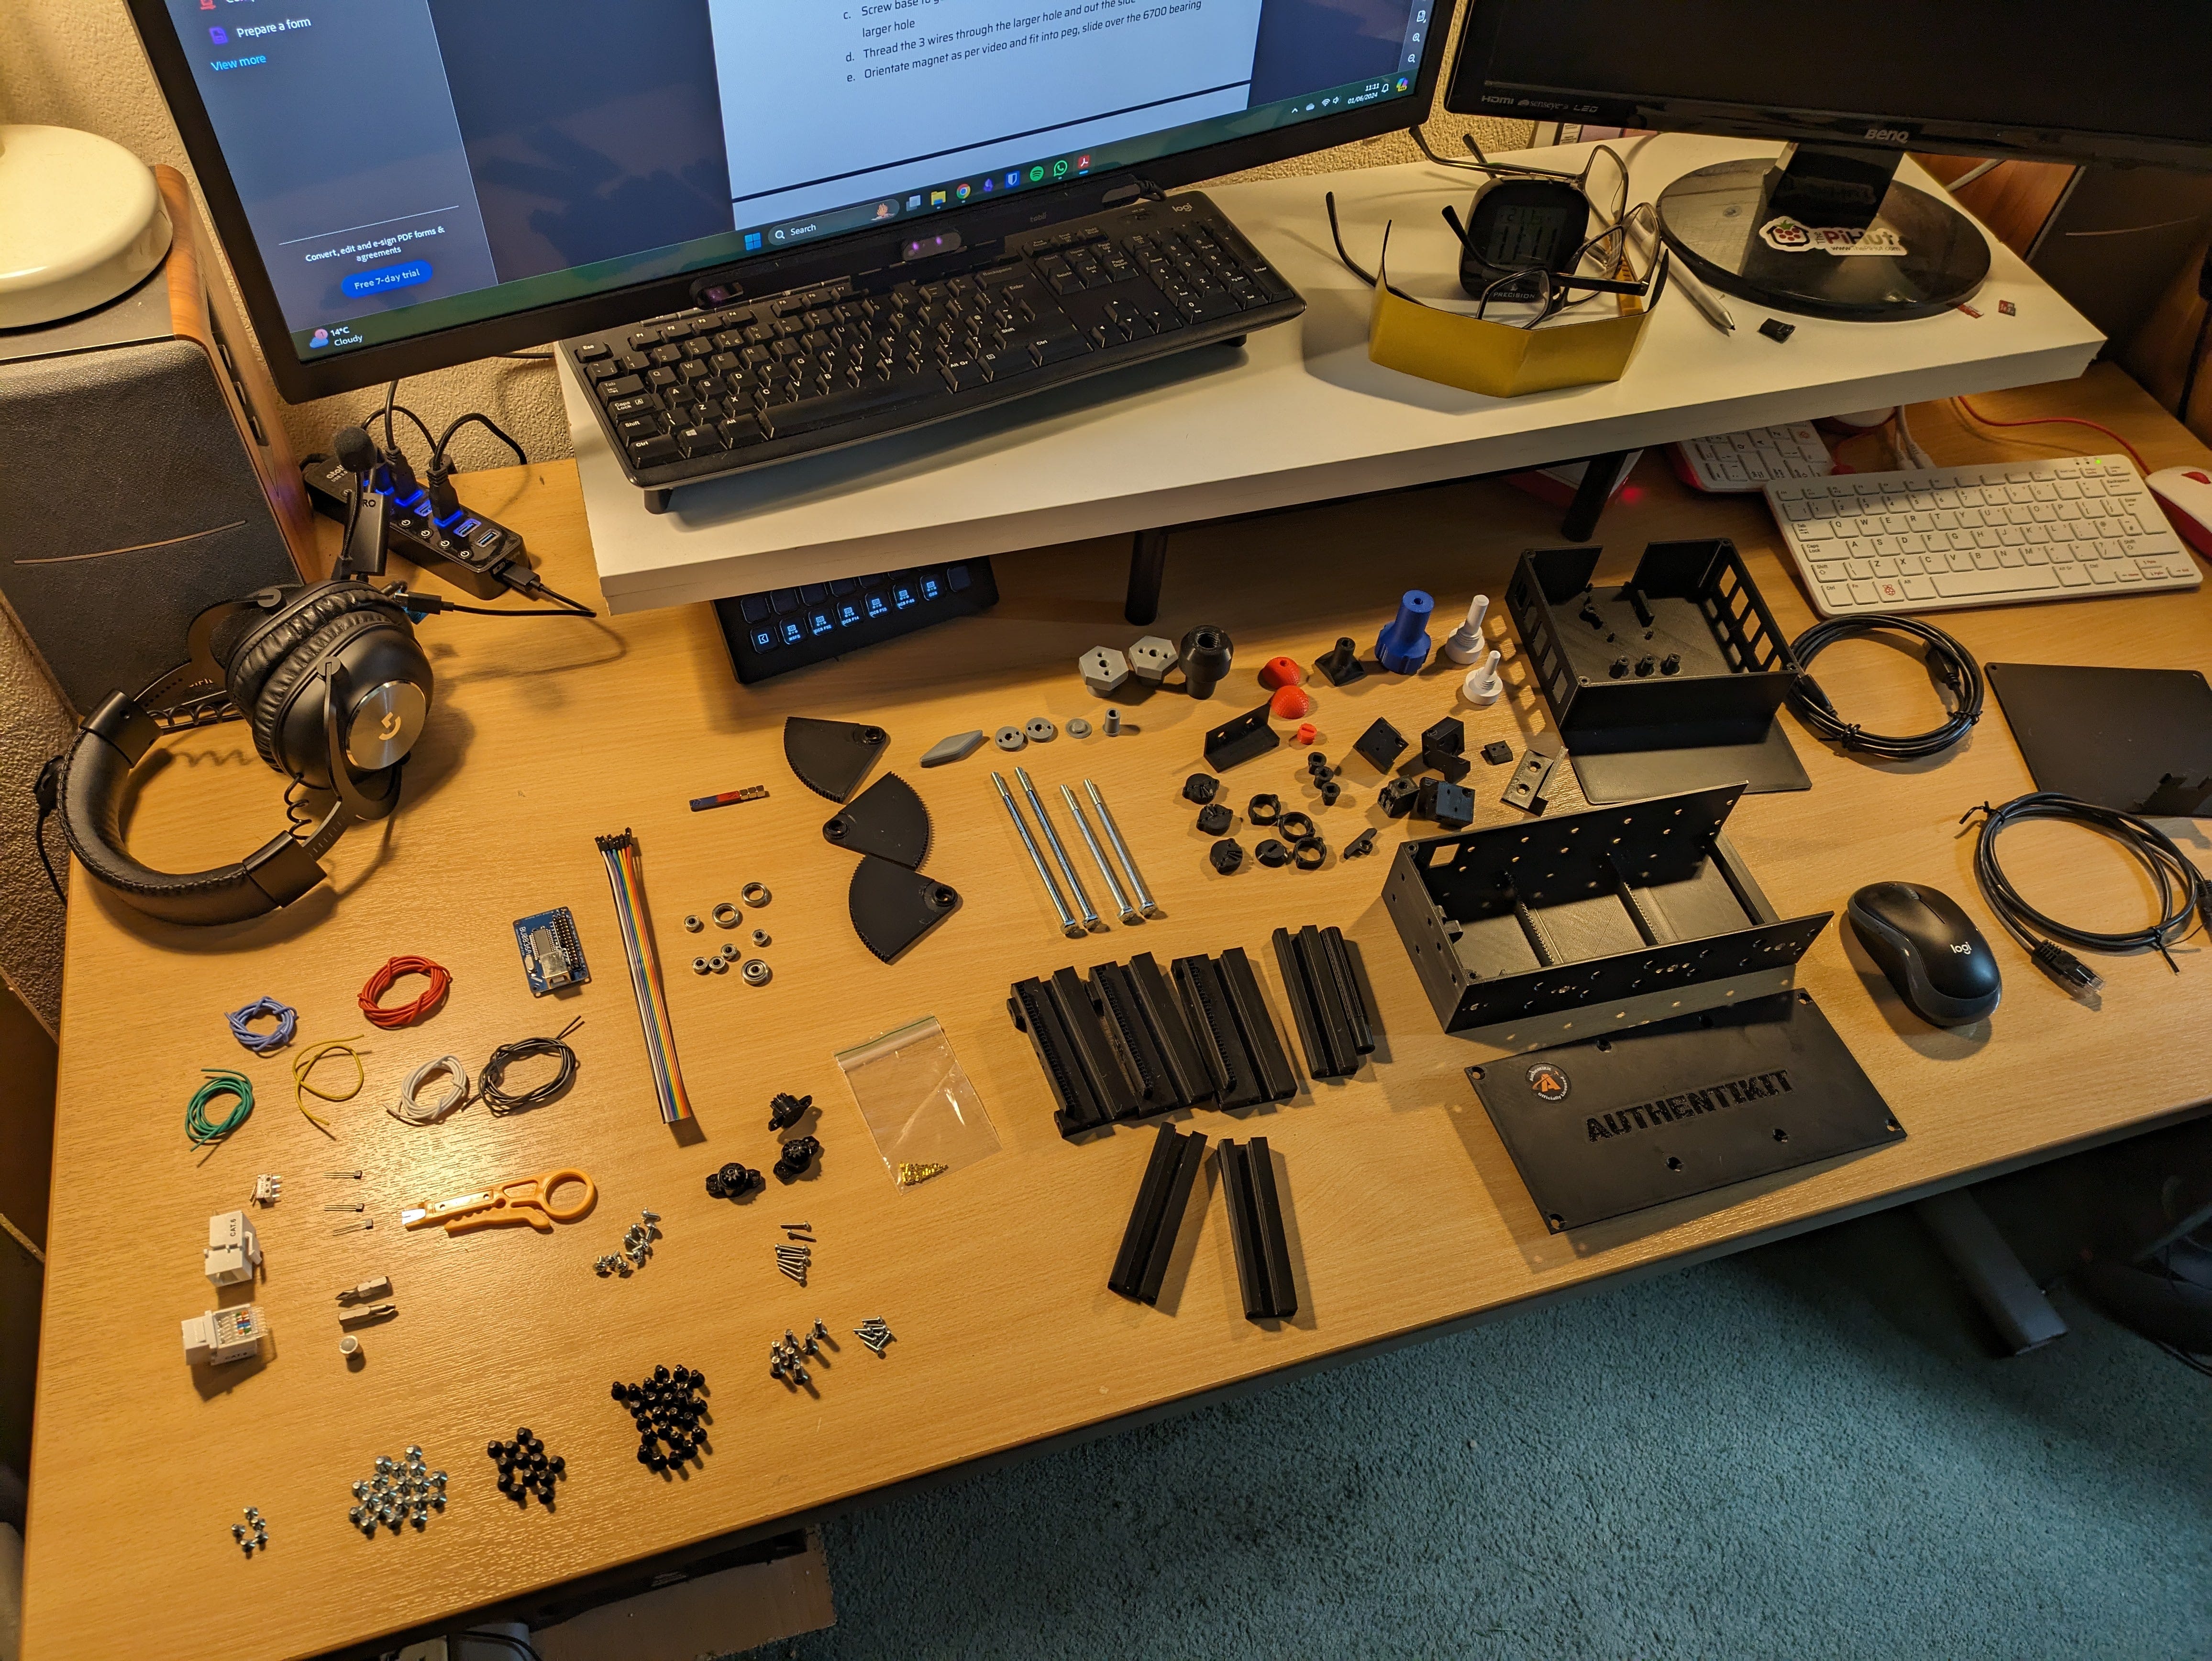
In the image above you can see the entire contents of the box from SKS spread across the desk - lots of wires, screws, electrical components, and pre-3D-printed structures.
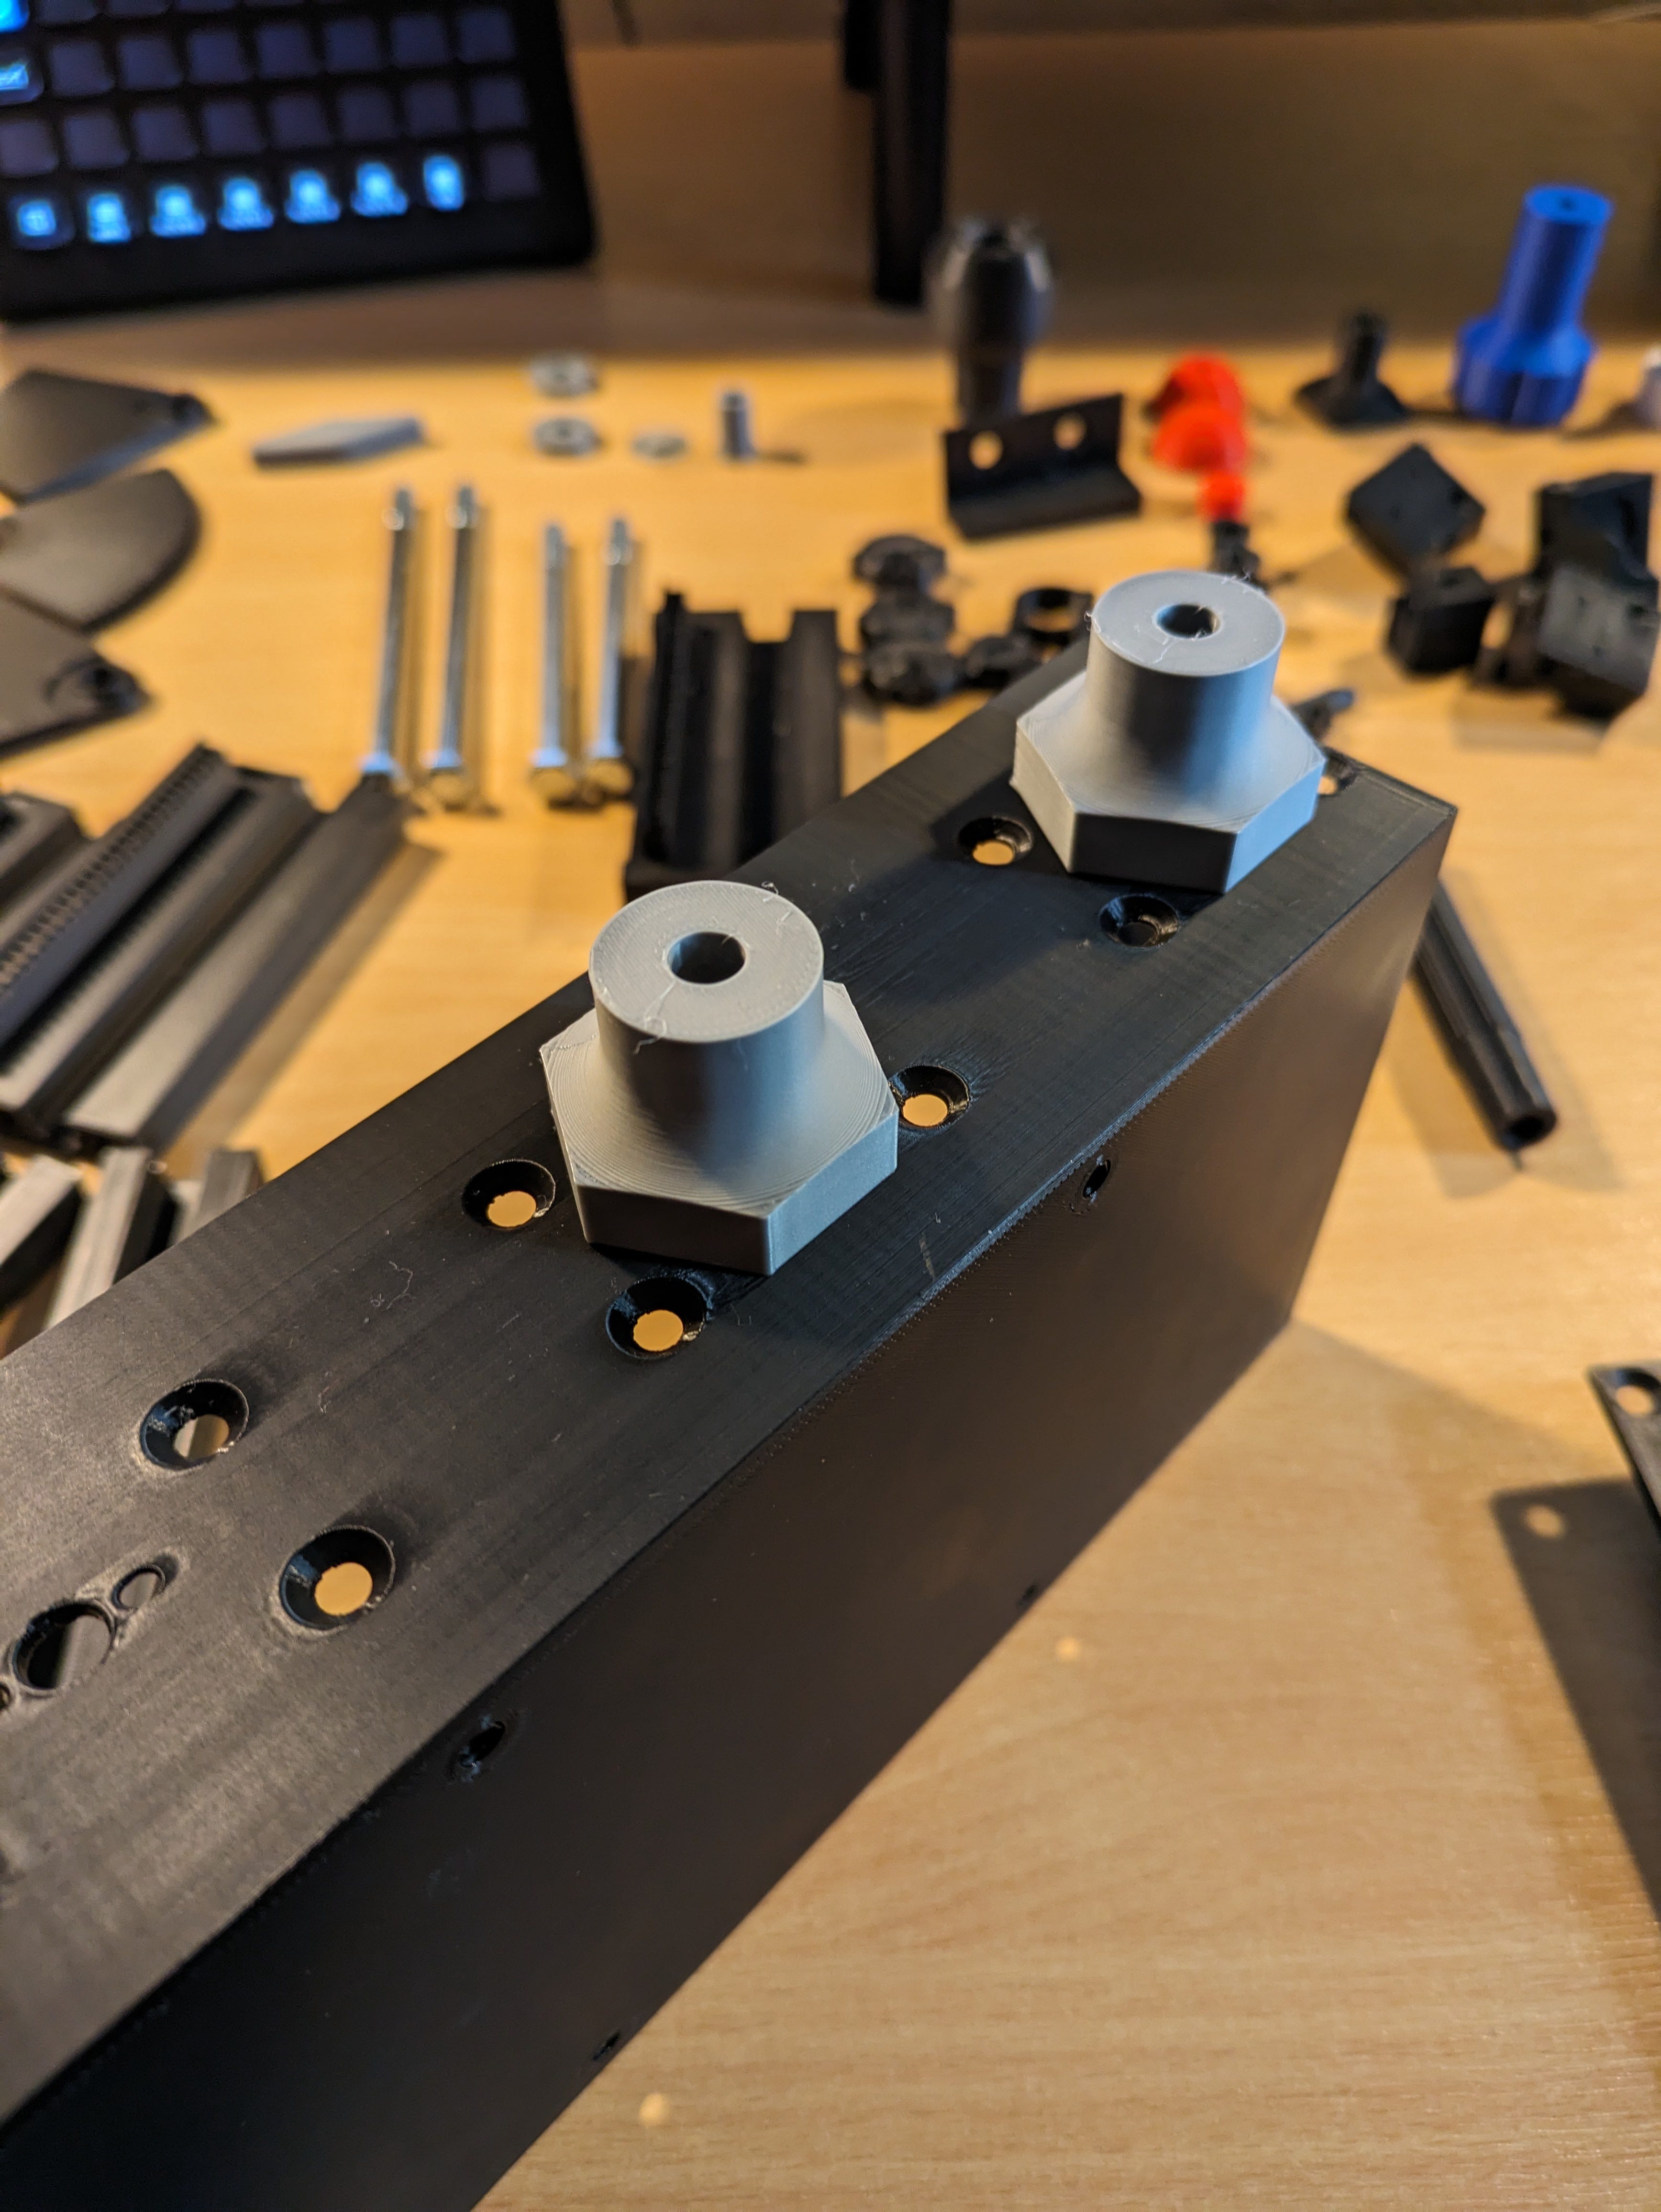
In the picture above we can see the main box starting to go together - screwing the facia together.
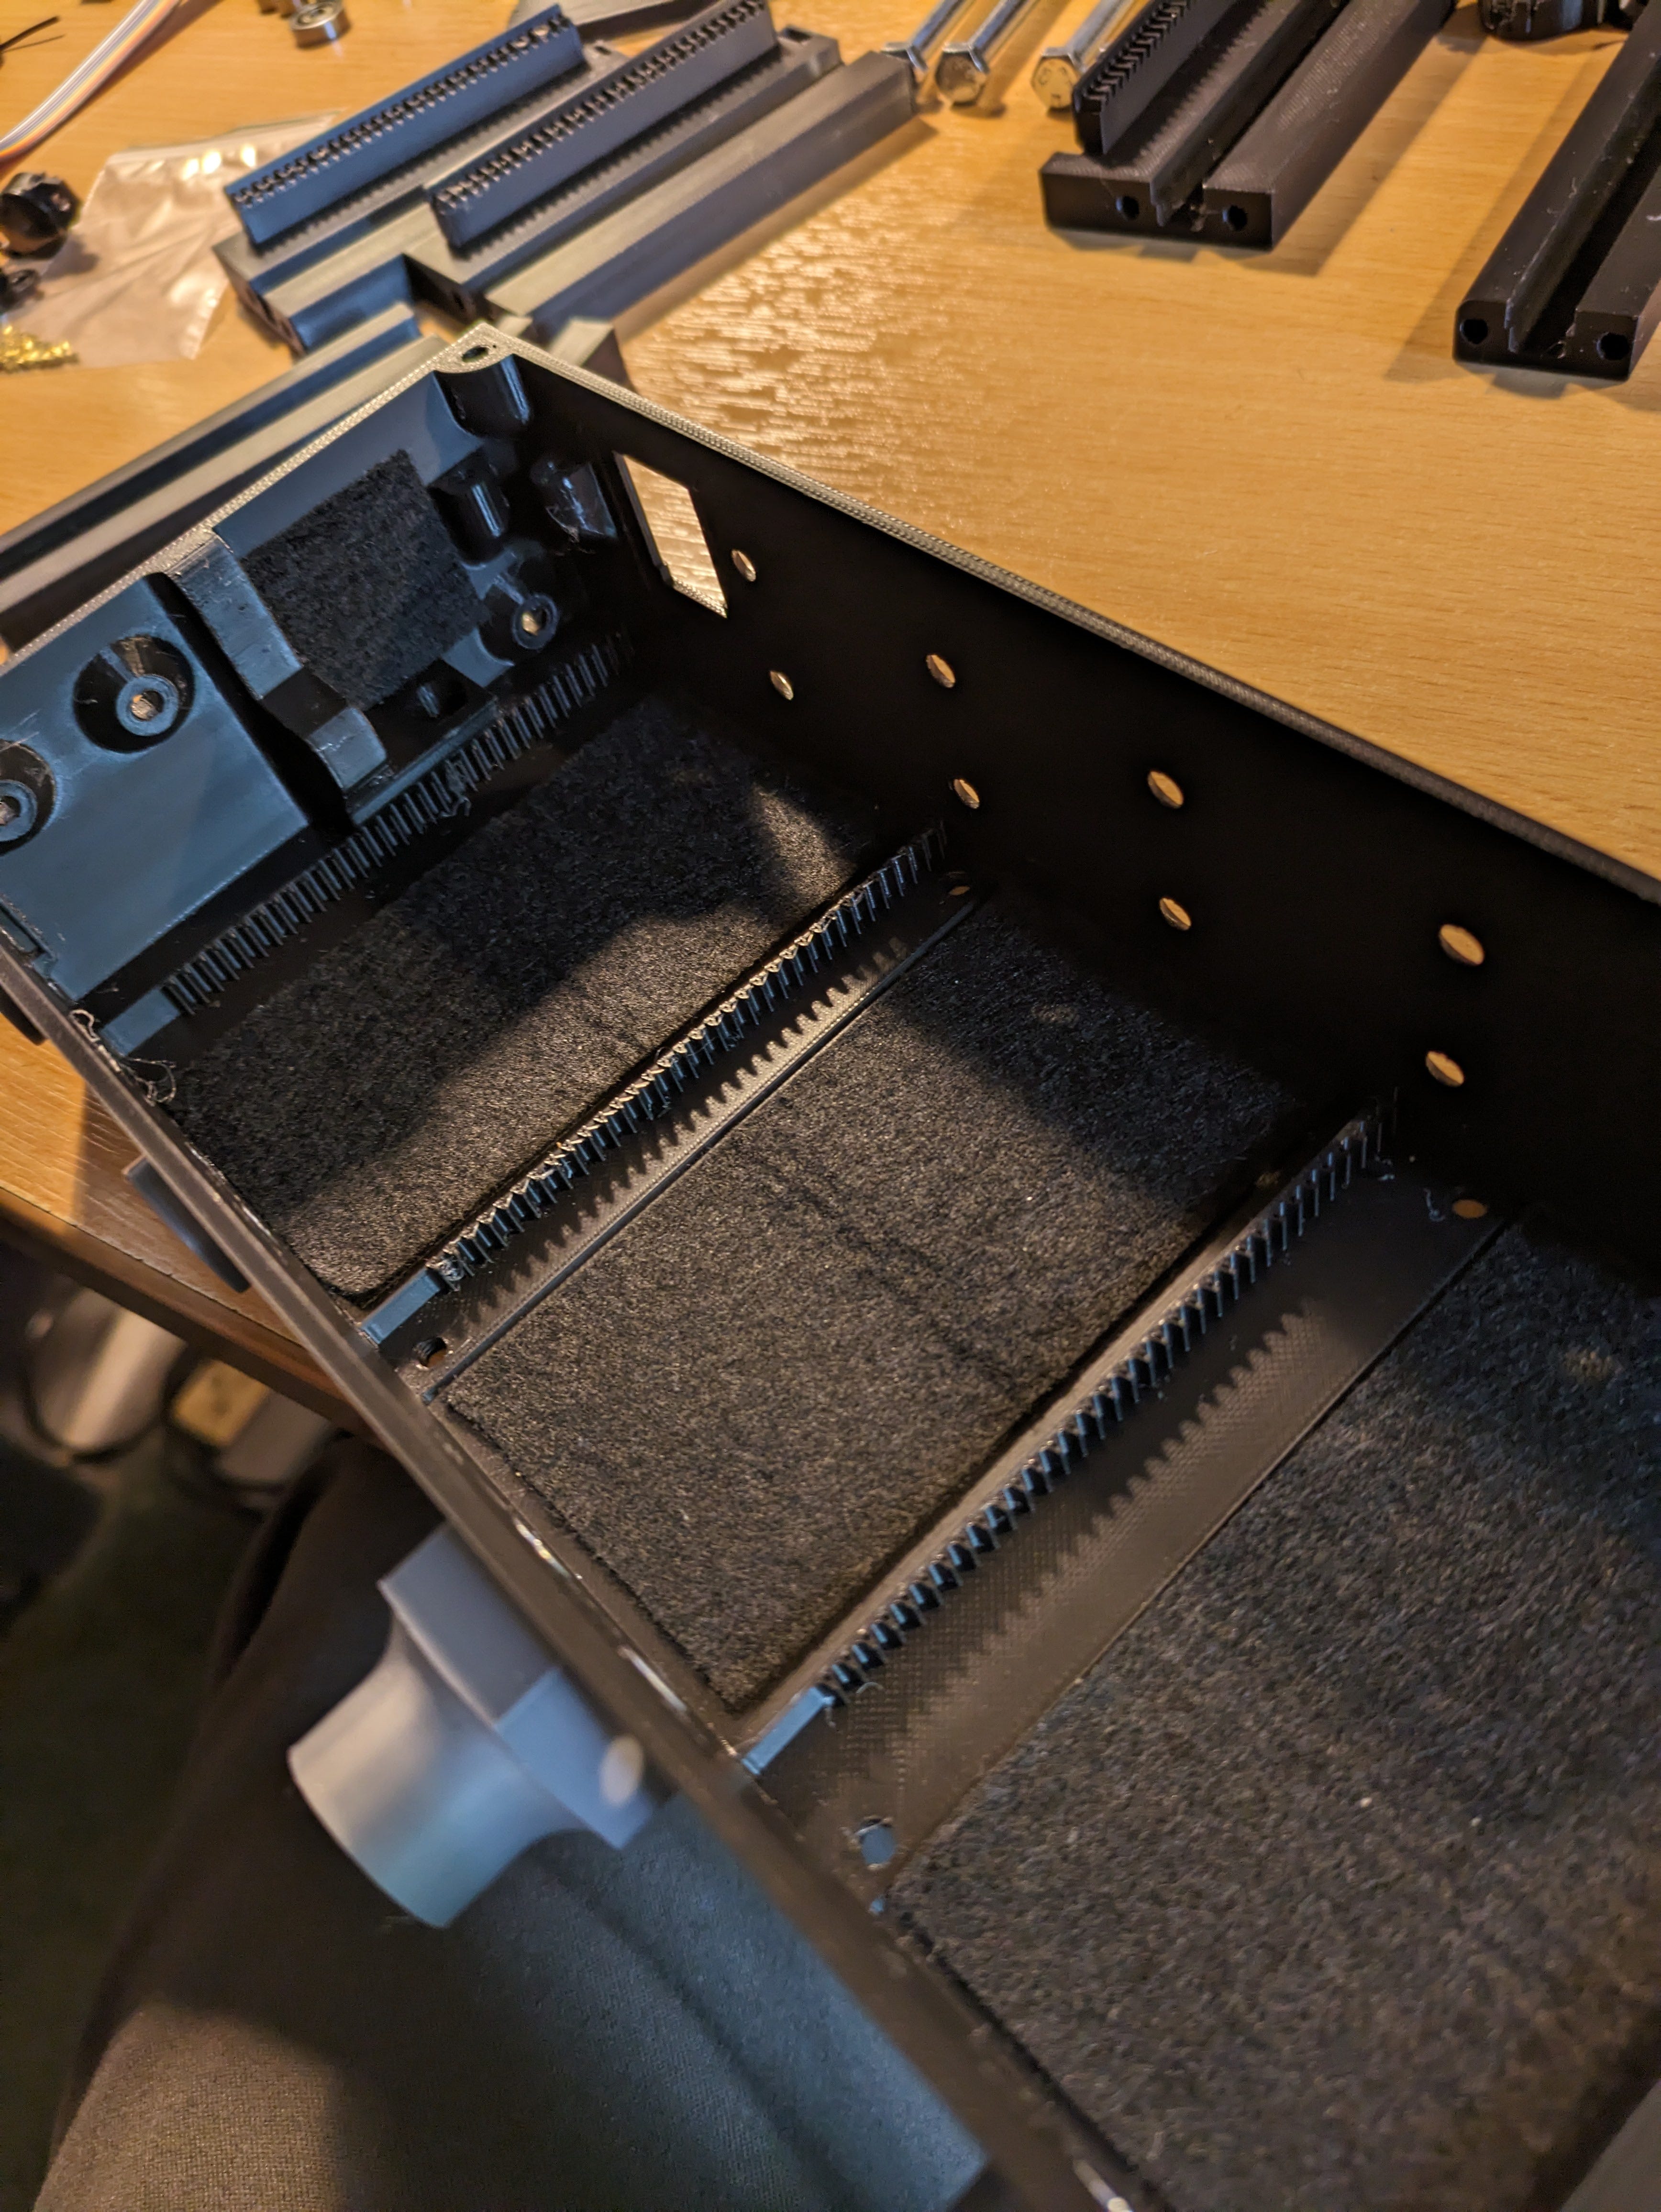
The bottom of the TPM module is lined with felt - that you have to cut and fit yourself. It’s very straightforward, and will provide an inventive method of providing friction for the throttle, propeller and mixture controls later.
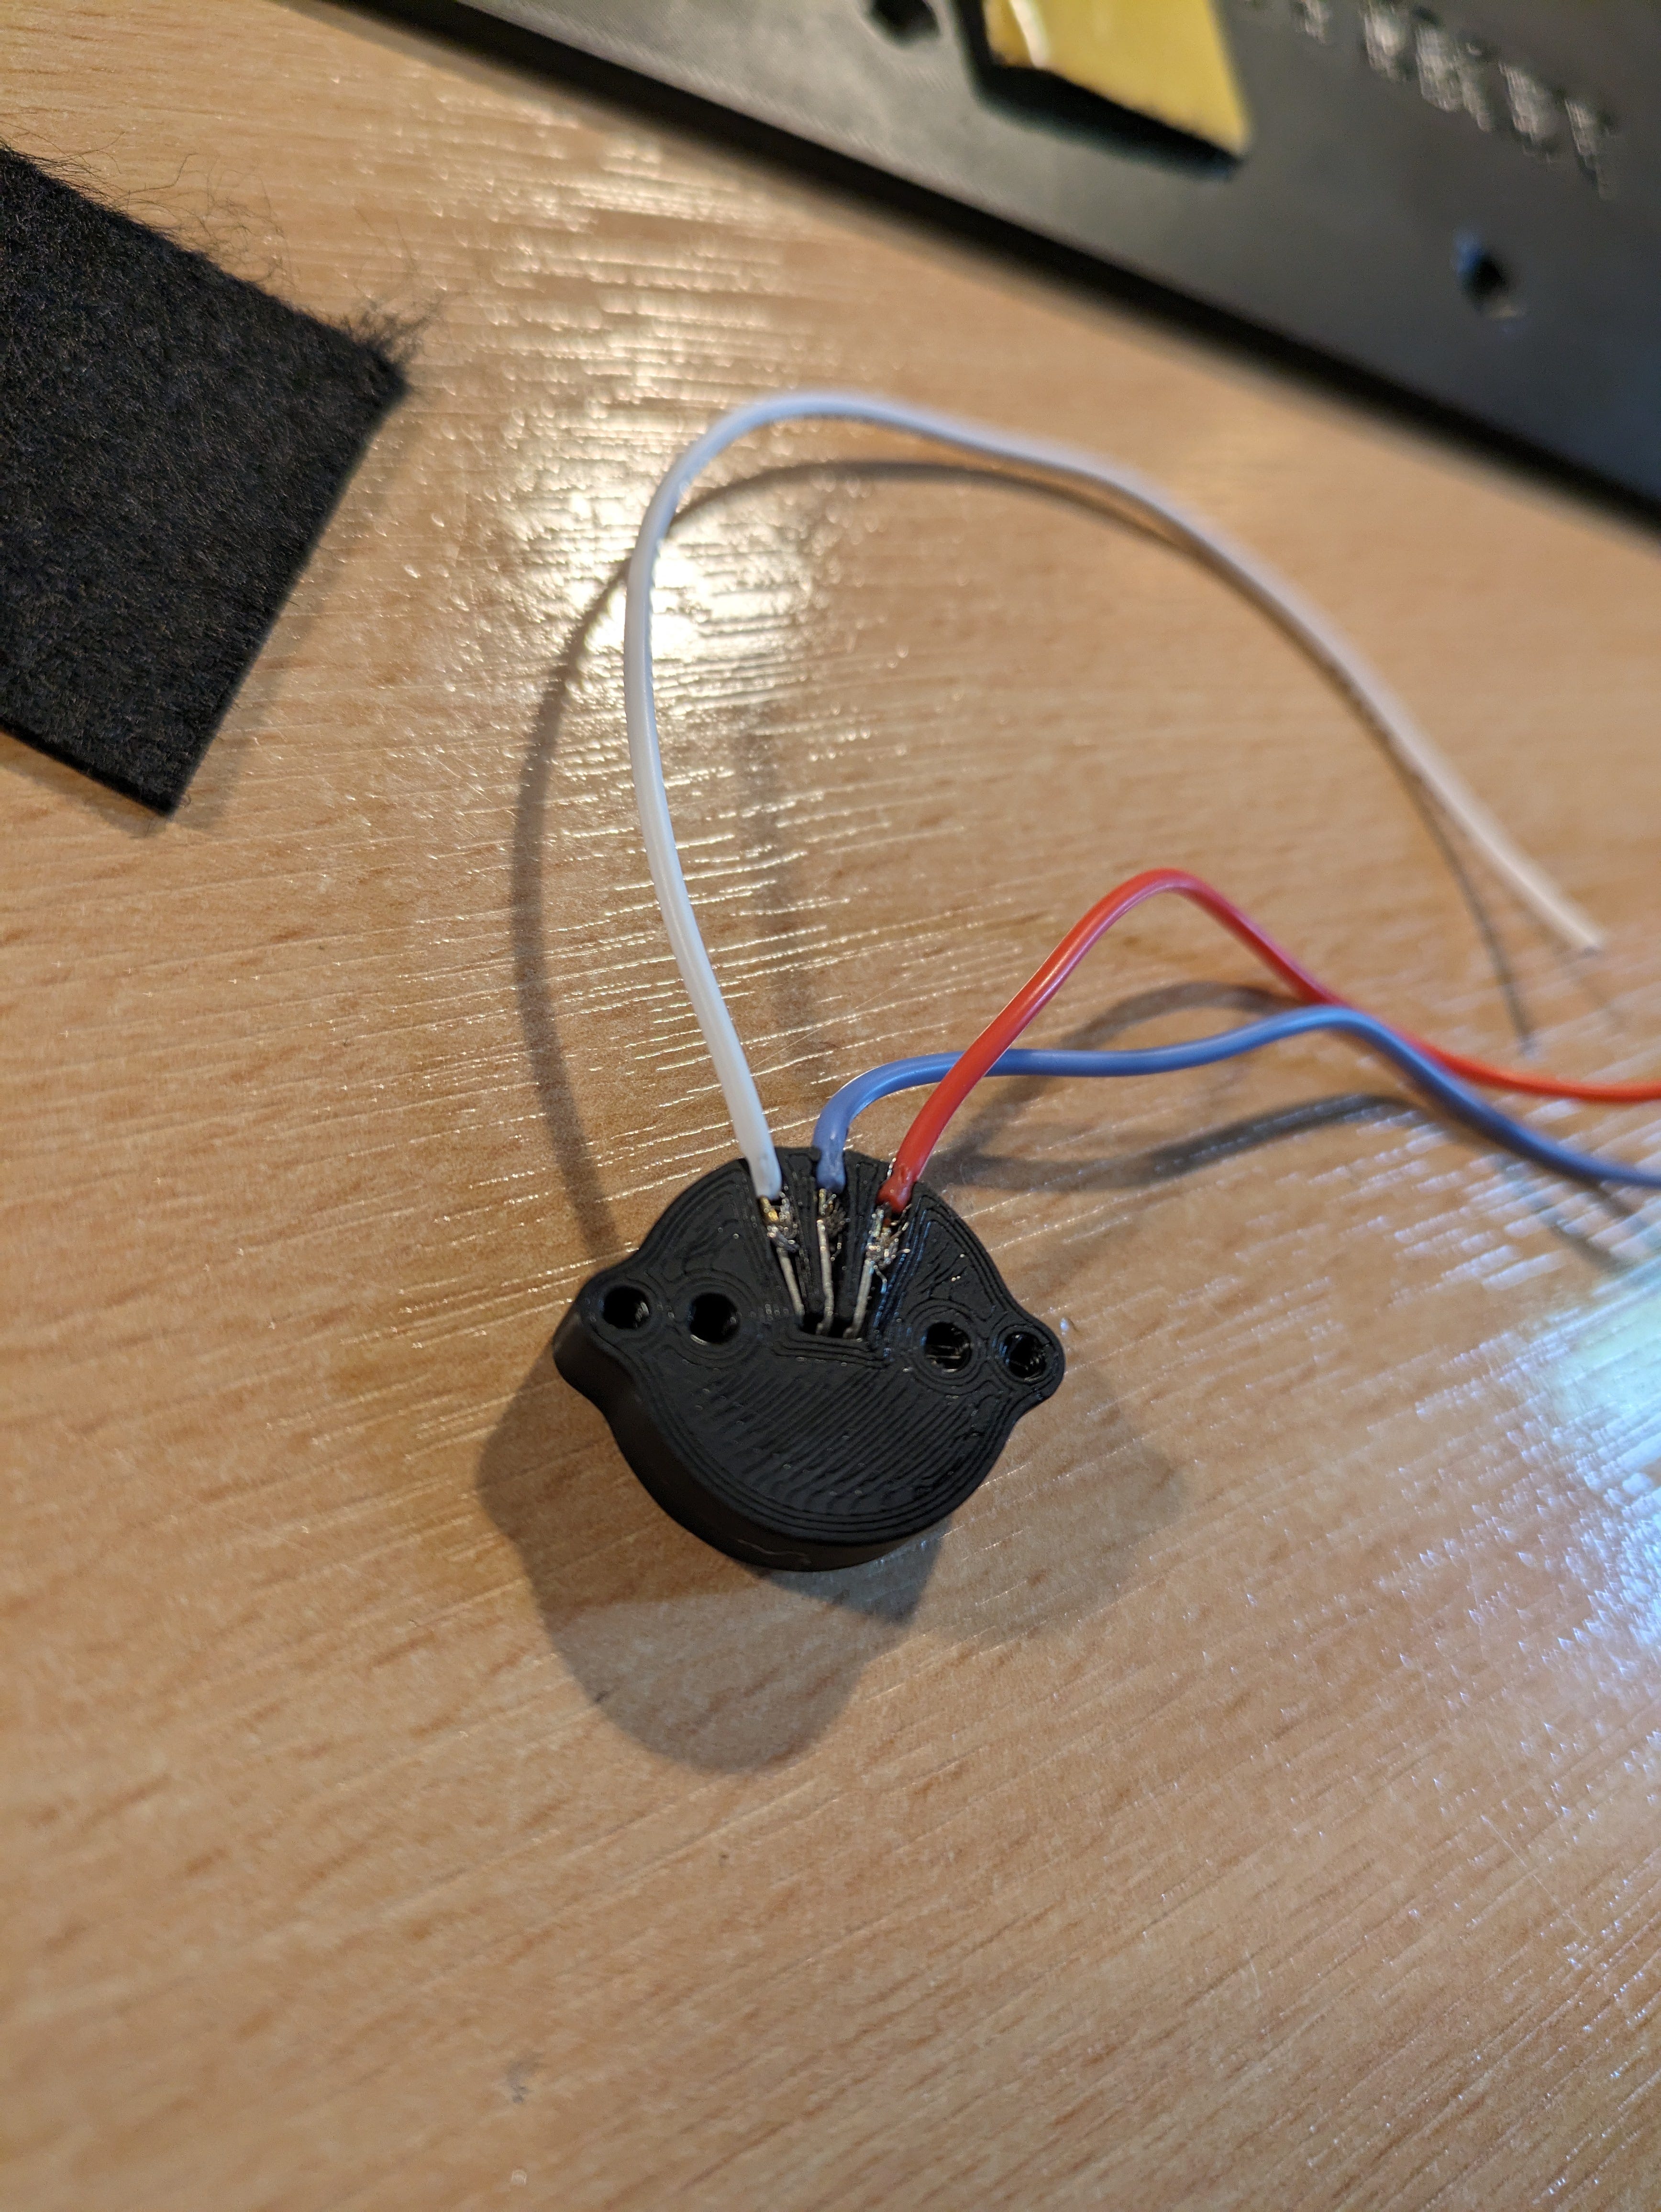
Above we have the beginnings of my journey fitting sleeves around wires, and pressing them into the beginnings of the “mag hall” units - the sensors that will detect the rotation of the mechanisms caused by pushing and pulling the throttle, mixture and propeller controls.
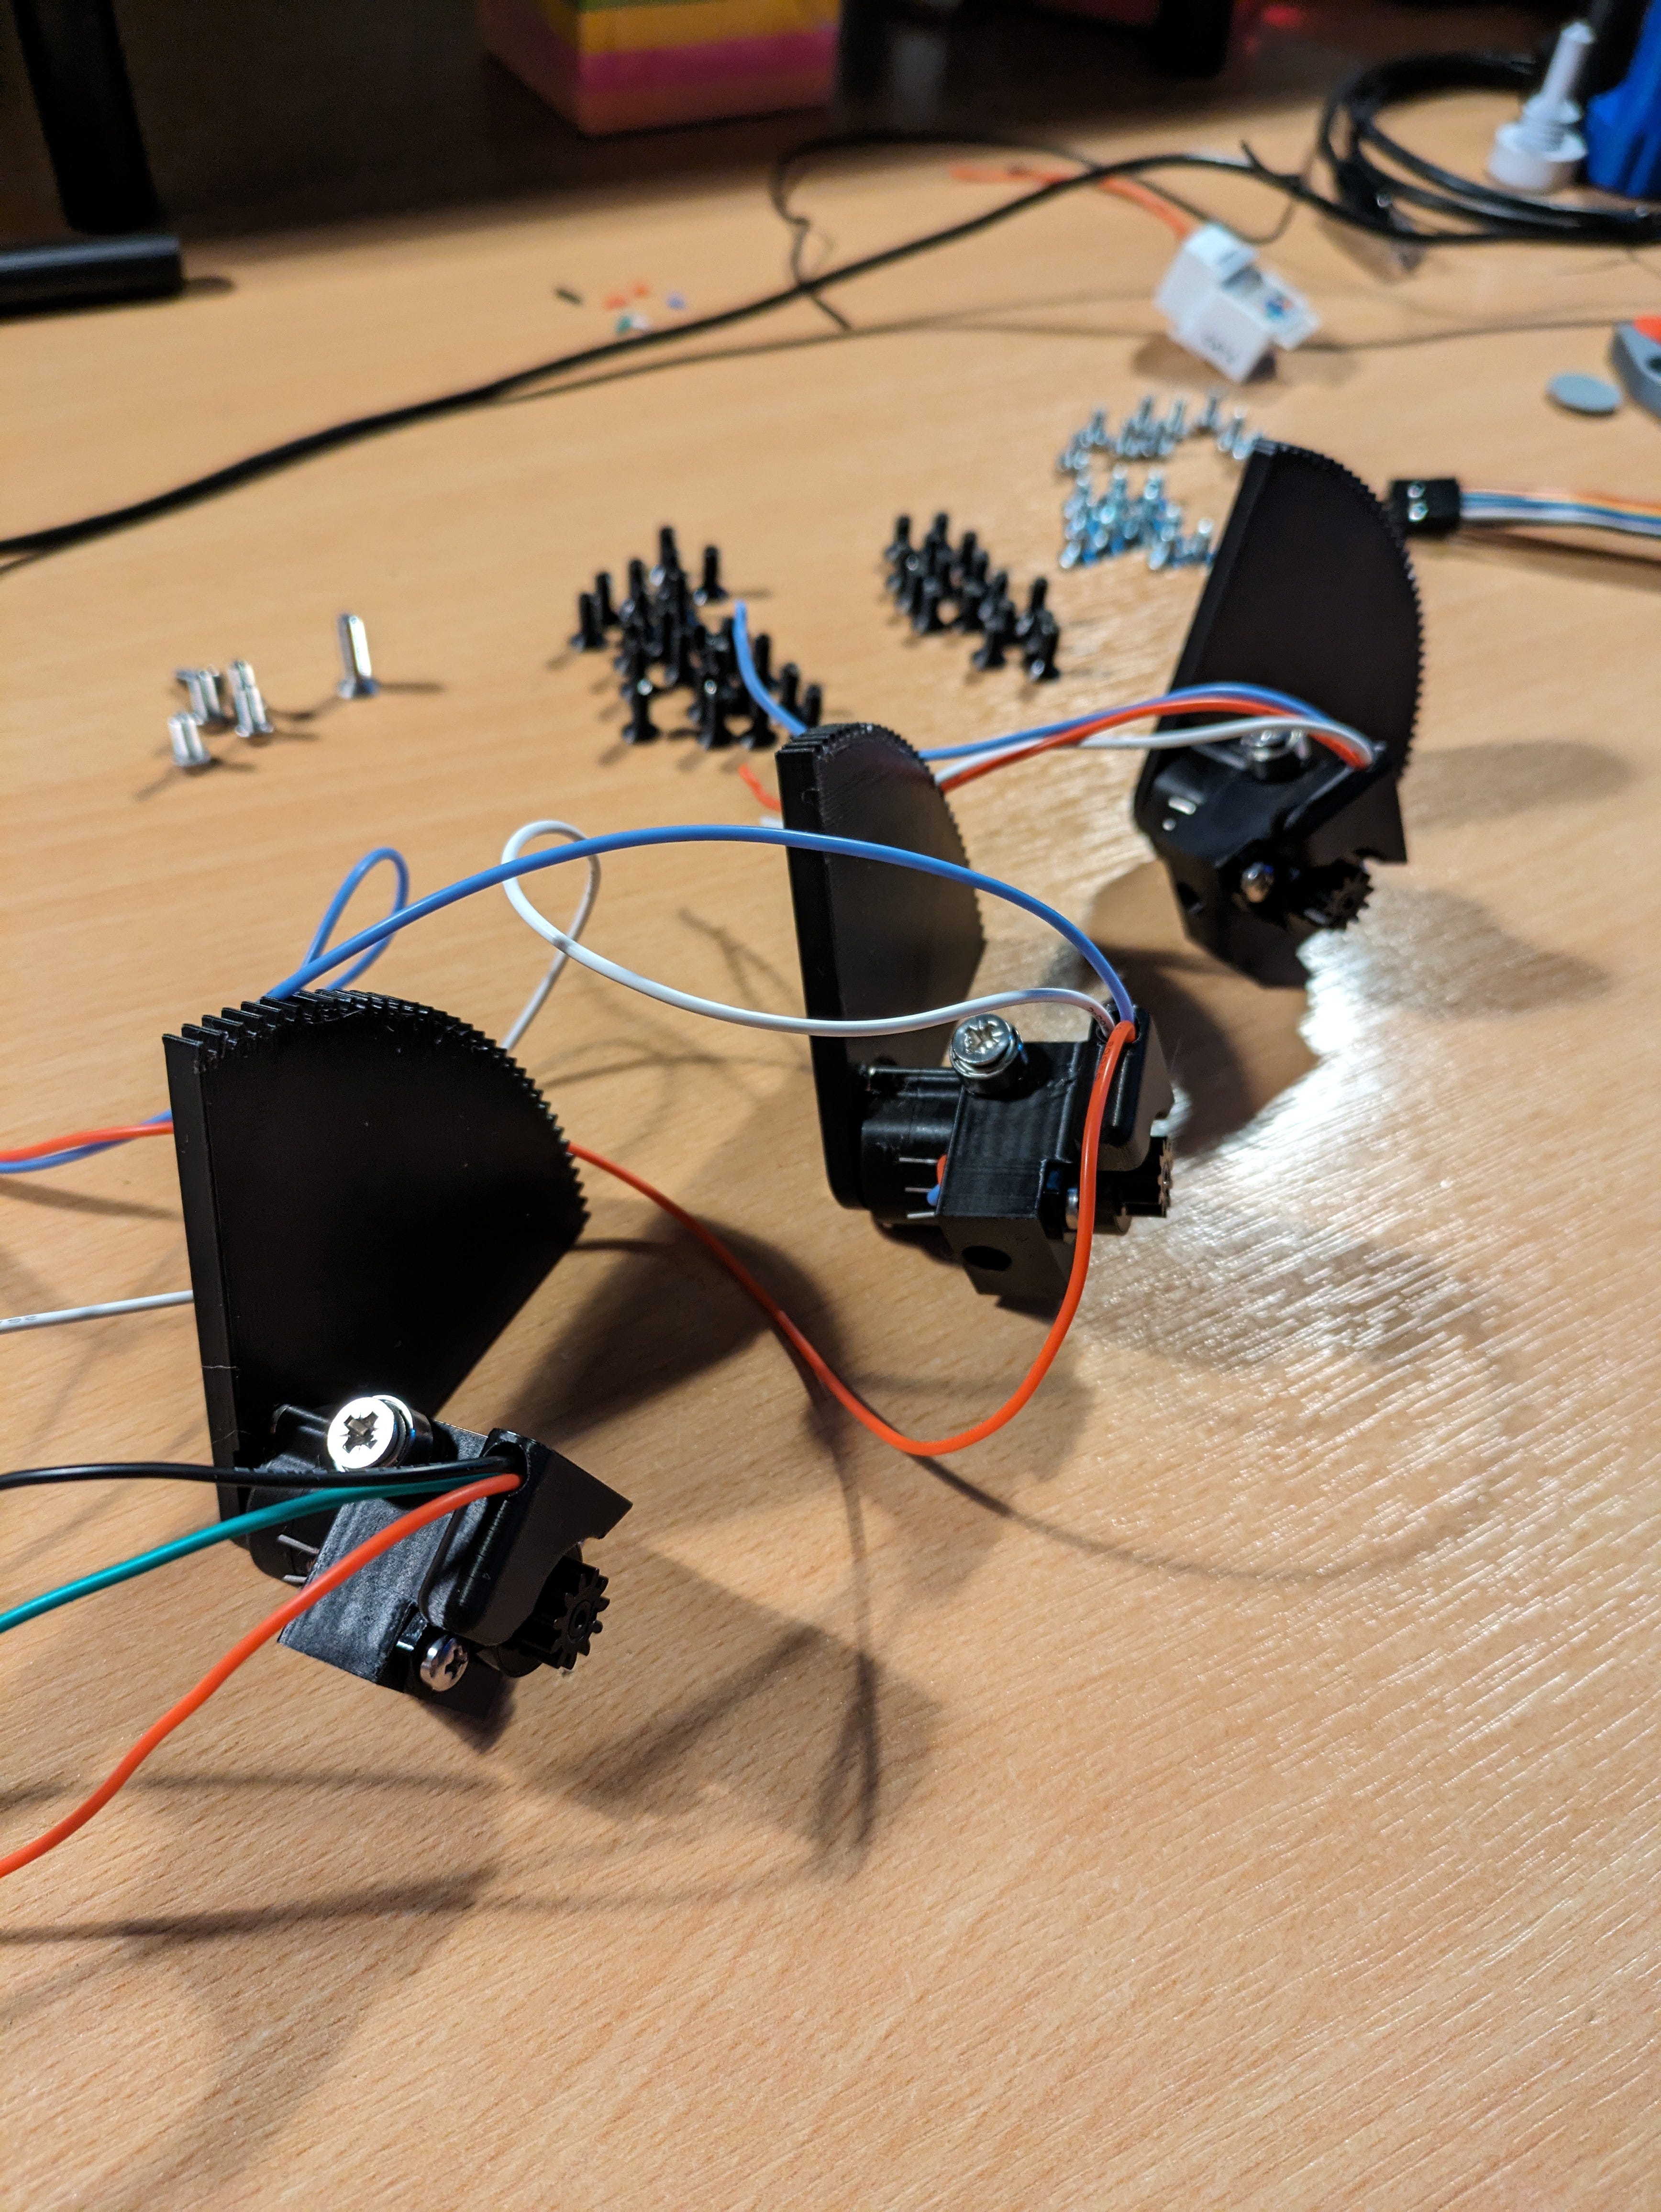
Here (above) we see the three fully assembled mag-hall units, with cogs attached, ready to go into the TPM module.
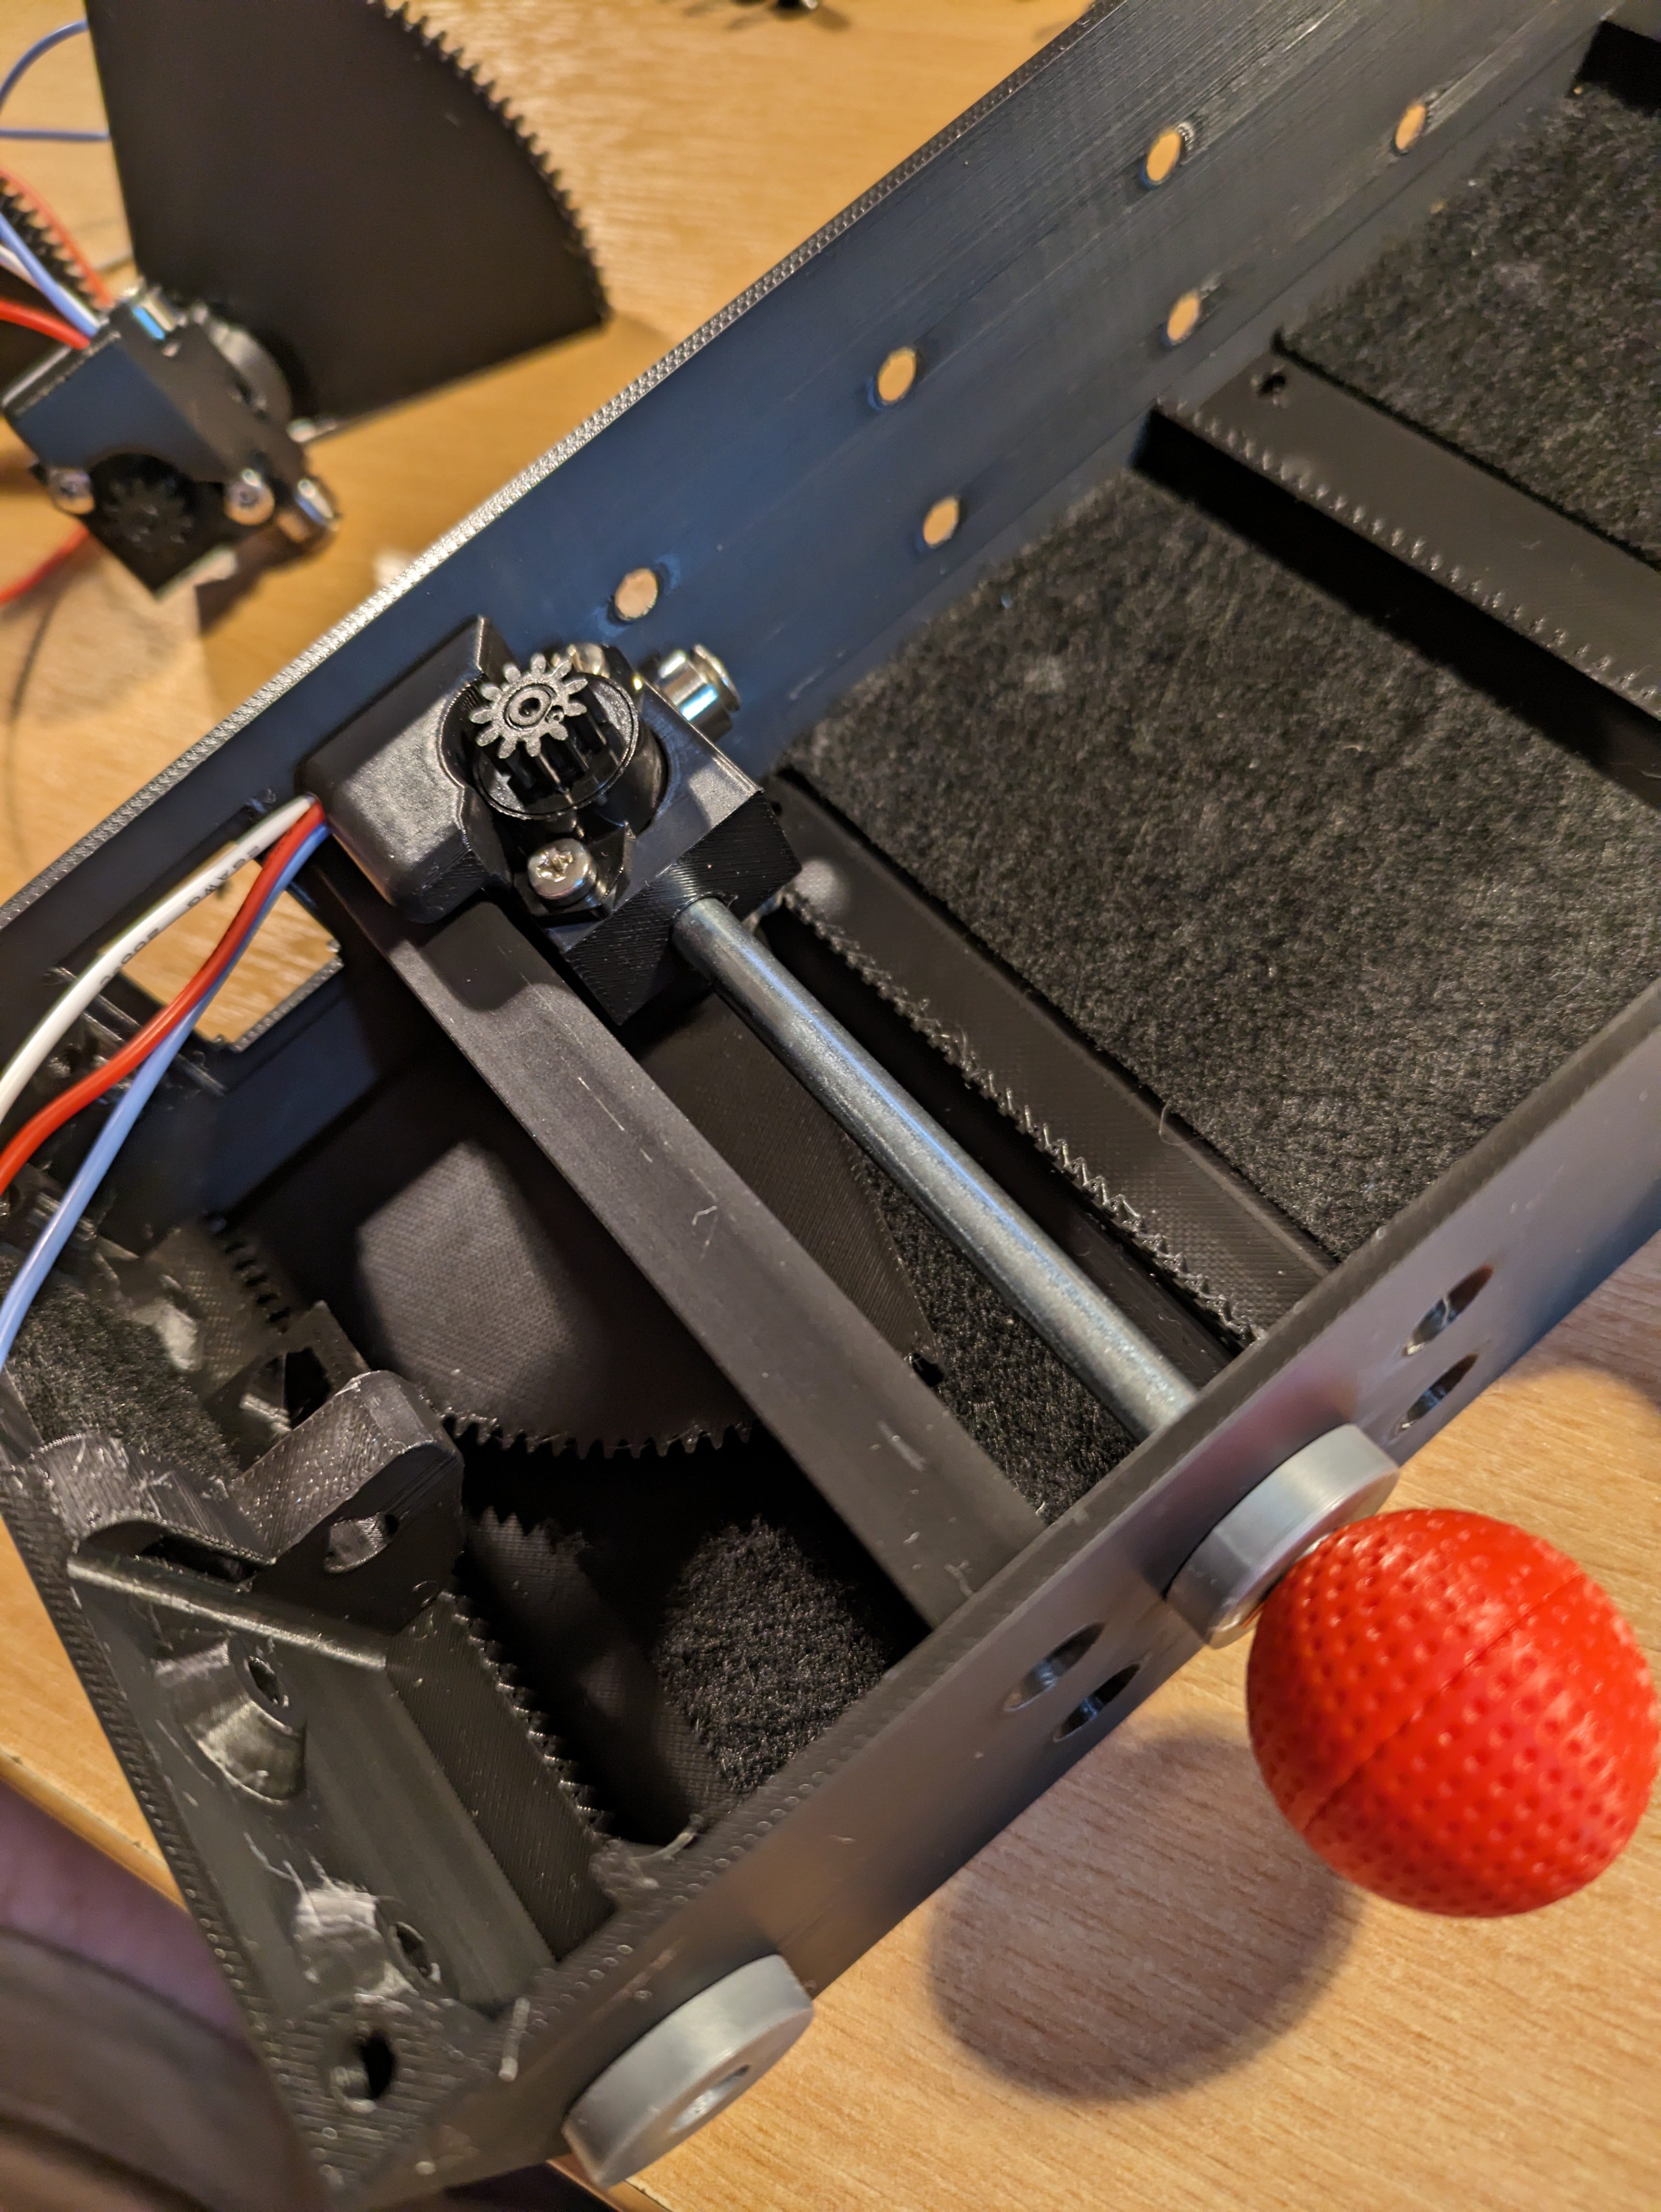
The above image shows the mixture control going into the housing - with the cog lining up, seated on the felt, and rails aligned with the mag-hall unit. It’s all very straightforward, and the guide video from Authentikit made it very simple and logical to construct.
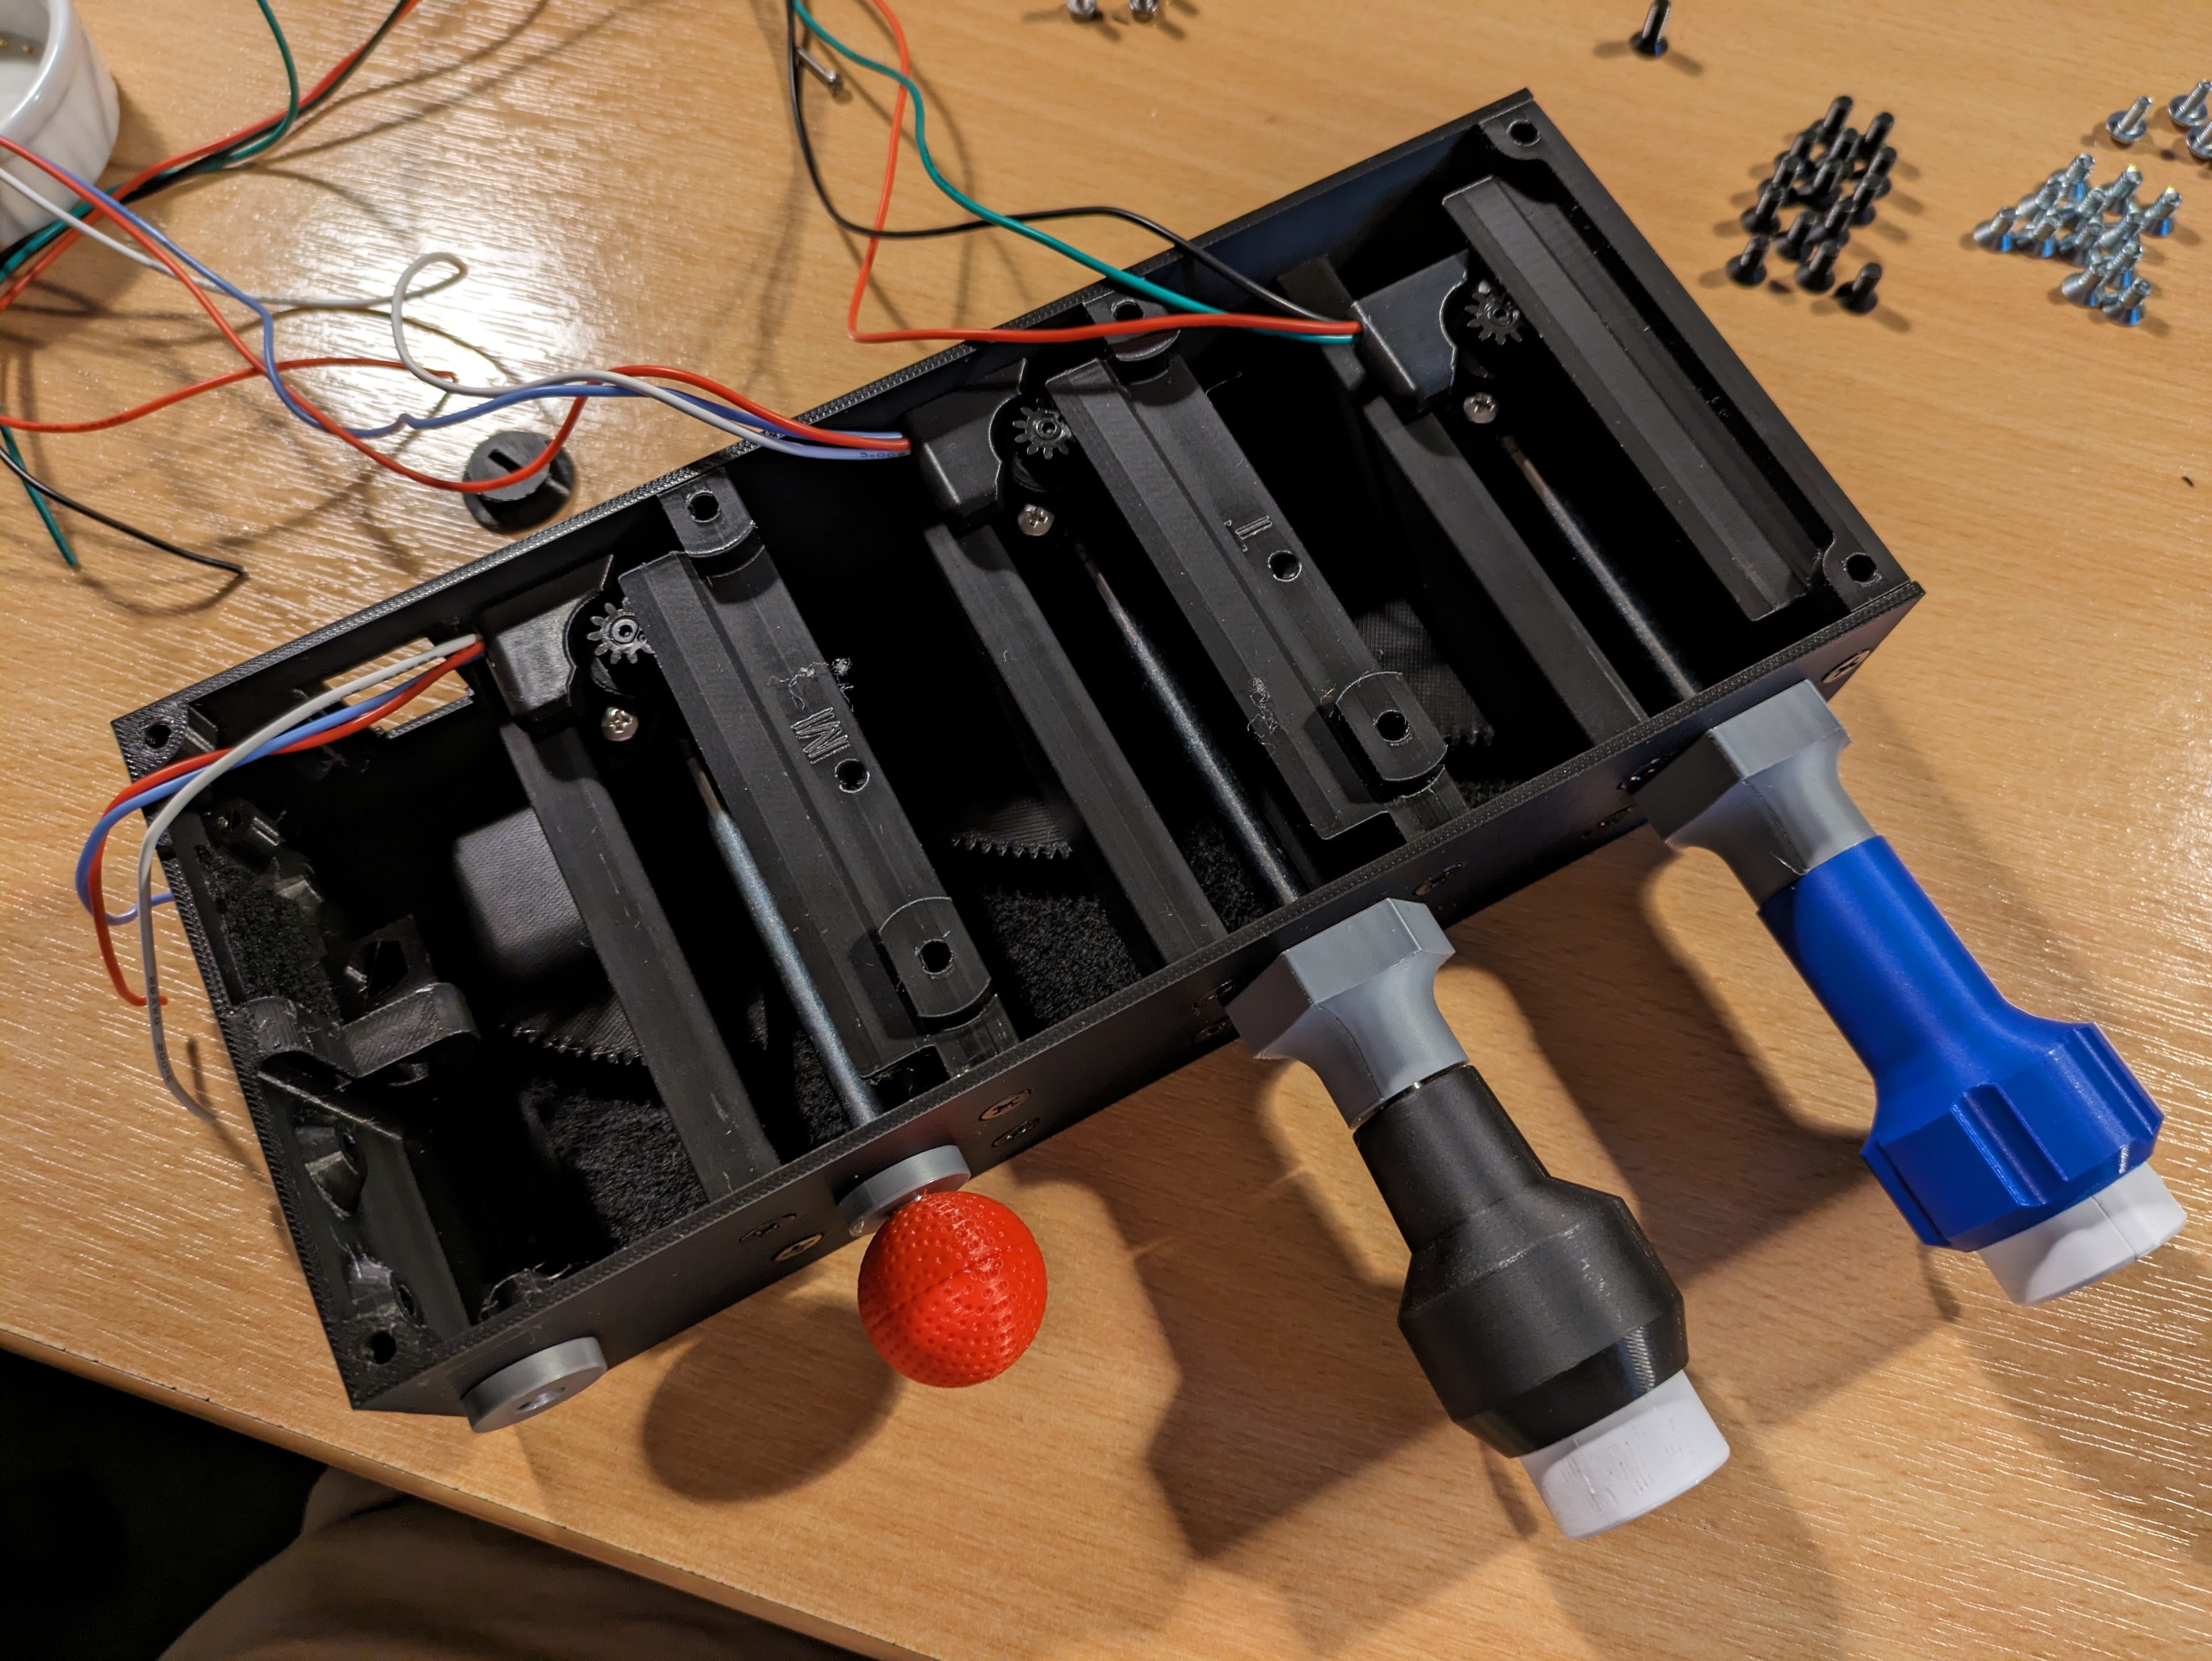
A bit further on, and we have the mixture, throttle and propeller controls constructed and installed into the housing.
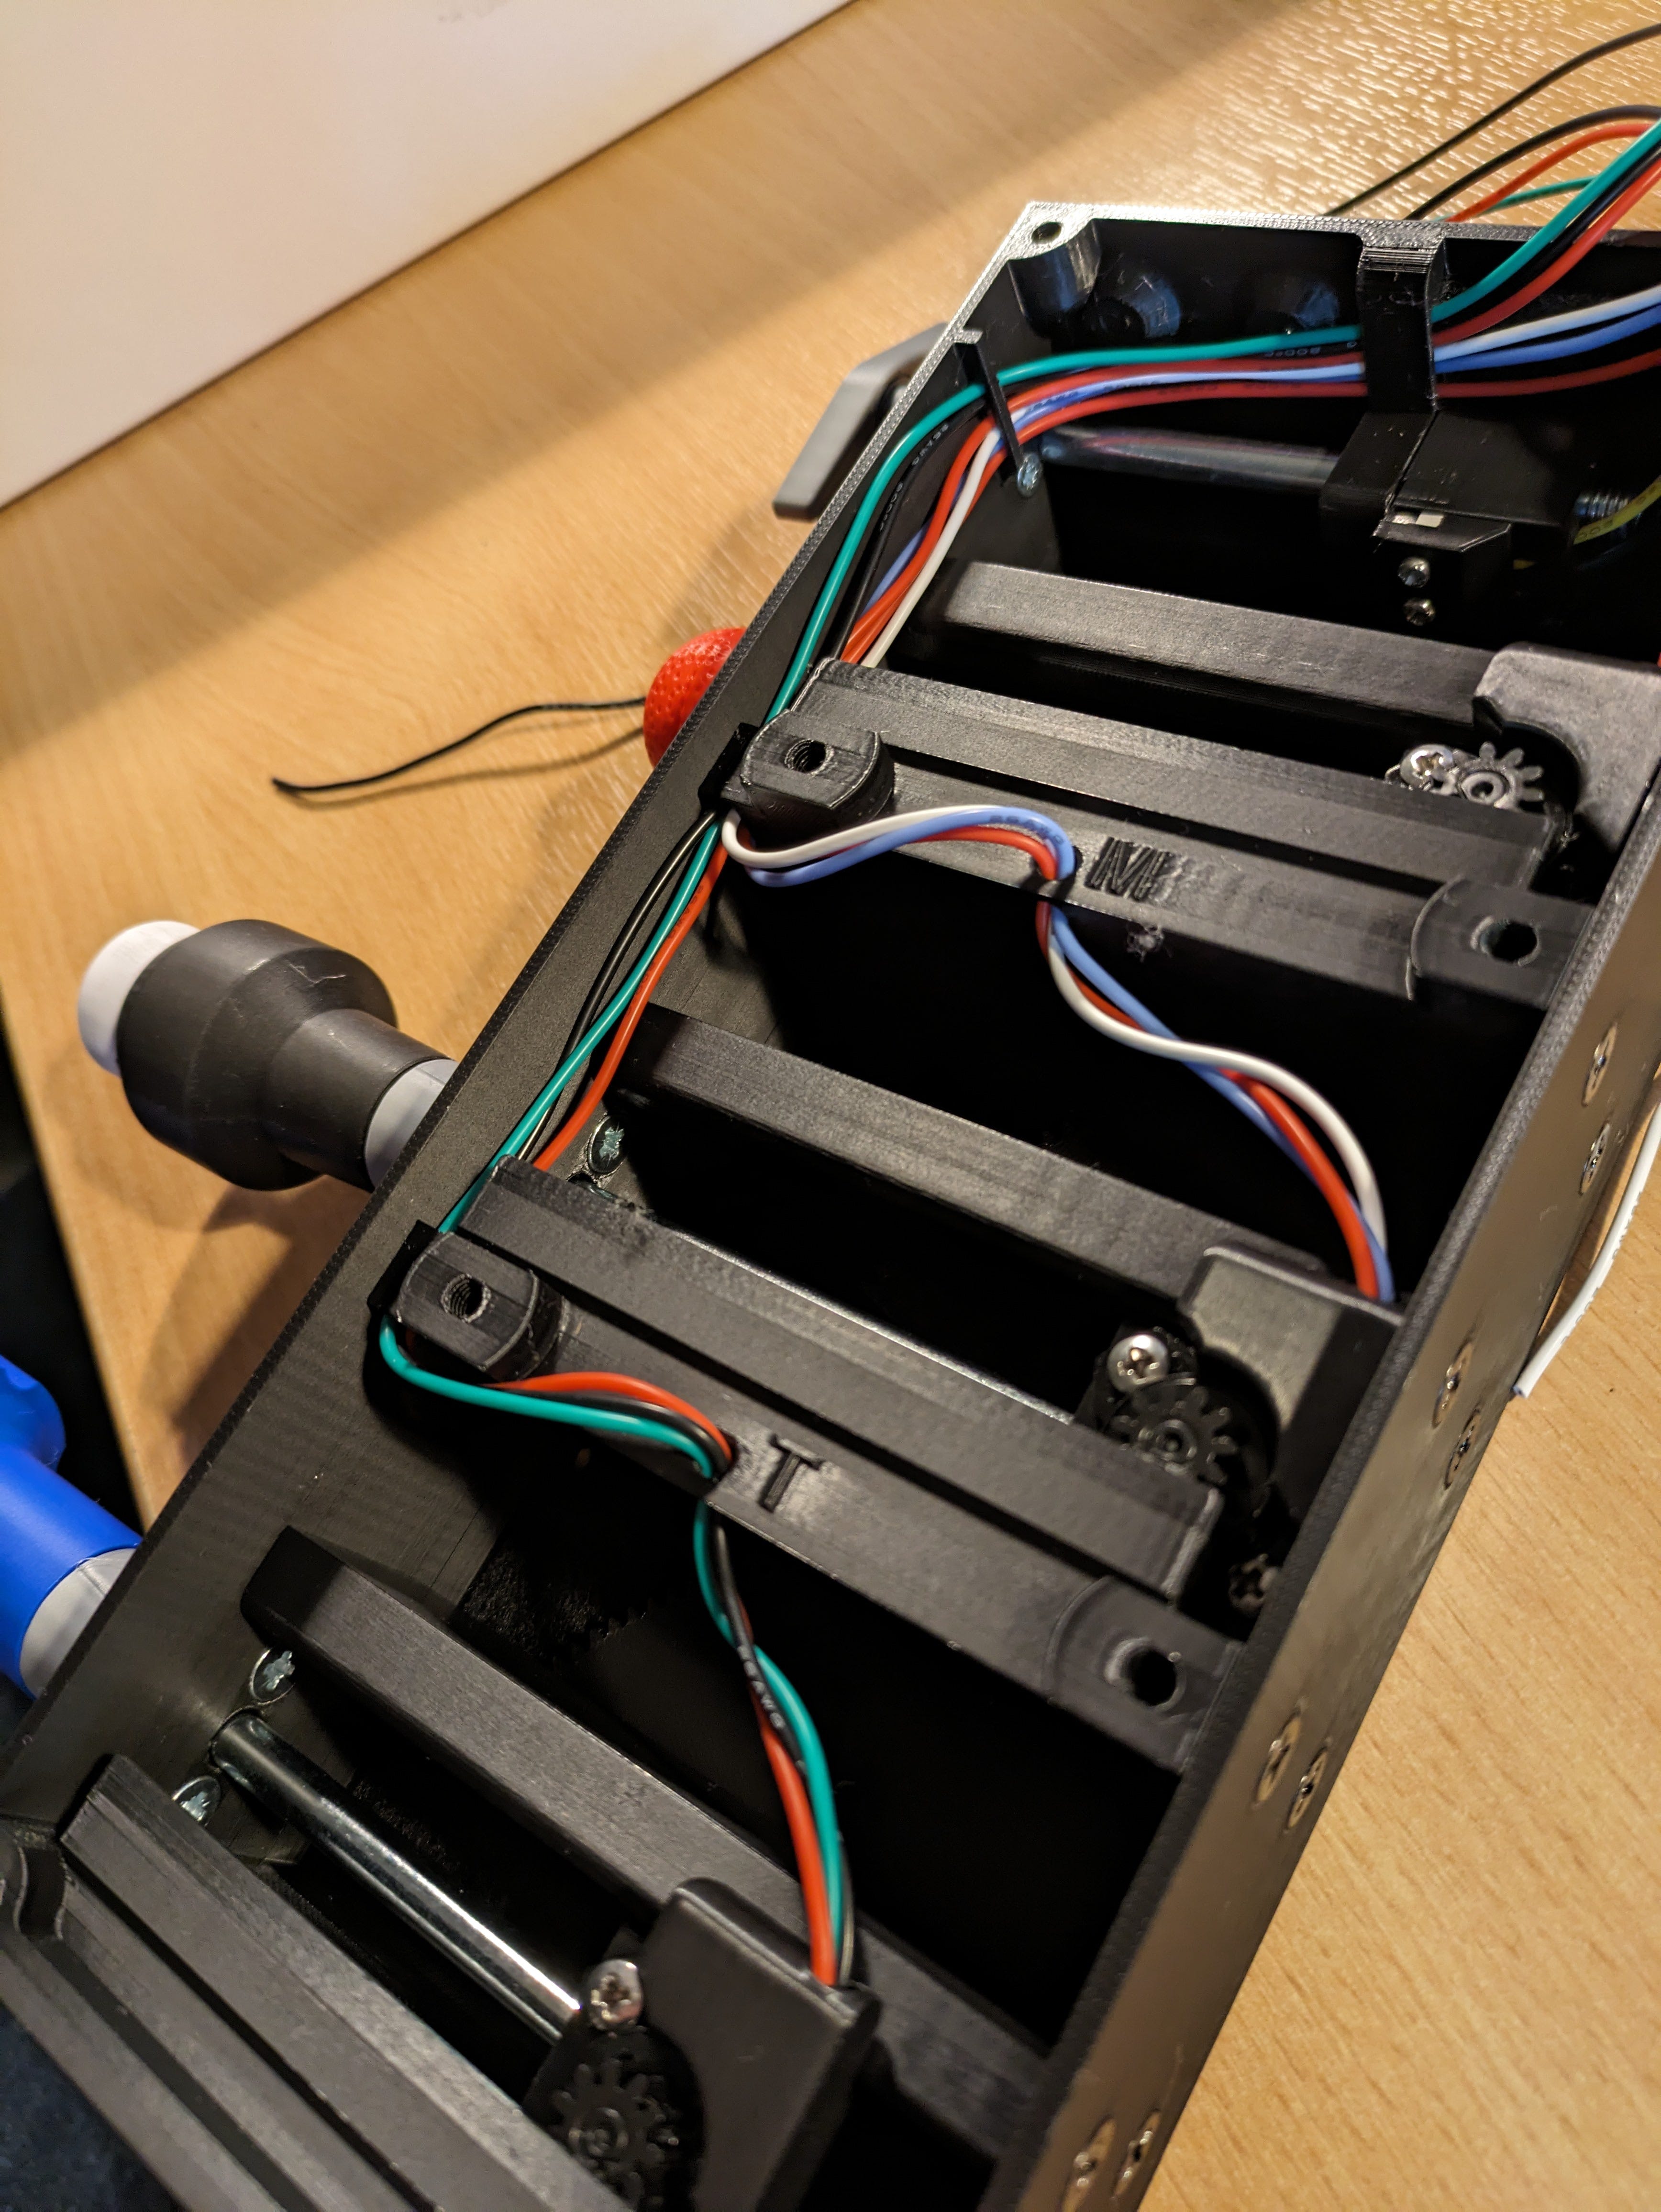
Next up we begin running the wires around the housing - giving them enough slack to travel, and routing through very neat slots in the walls. I was really impressed with how well thought out everything was.
After connecting the various wires up to an RJ45 (ethernet) connector (a very simple job, again - following the instructional video from Authentikit), the TPM module was complete.
That’s not the end of the story though! The Authentikit components can all share a common interface module - allowing many devices to share one USB connector.
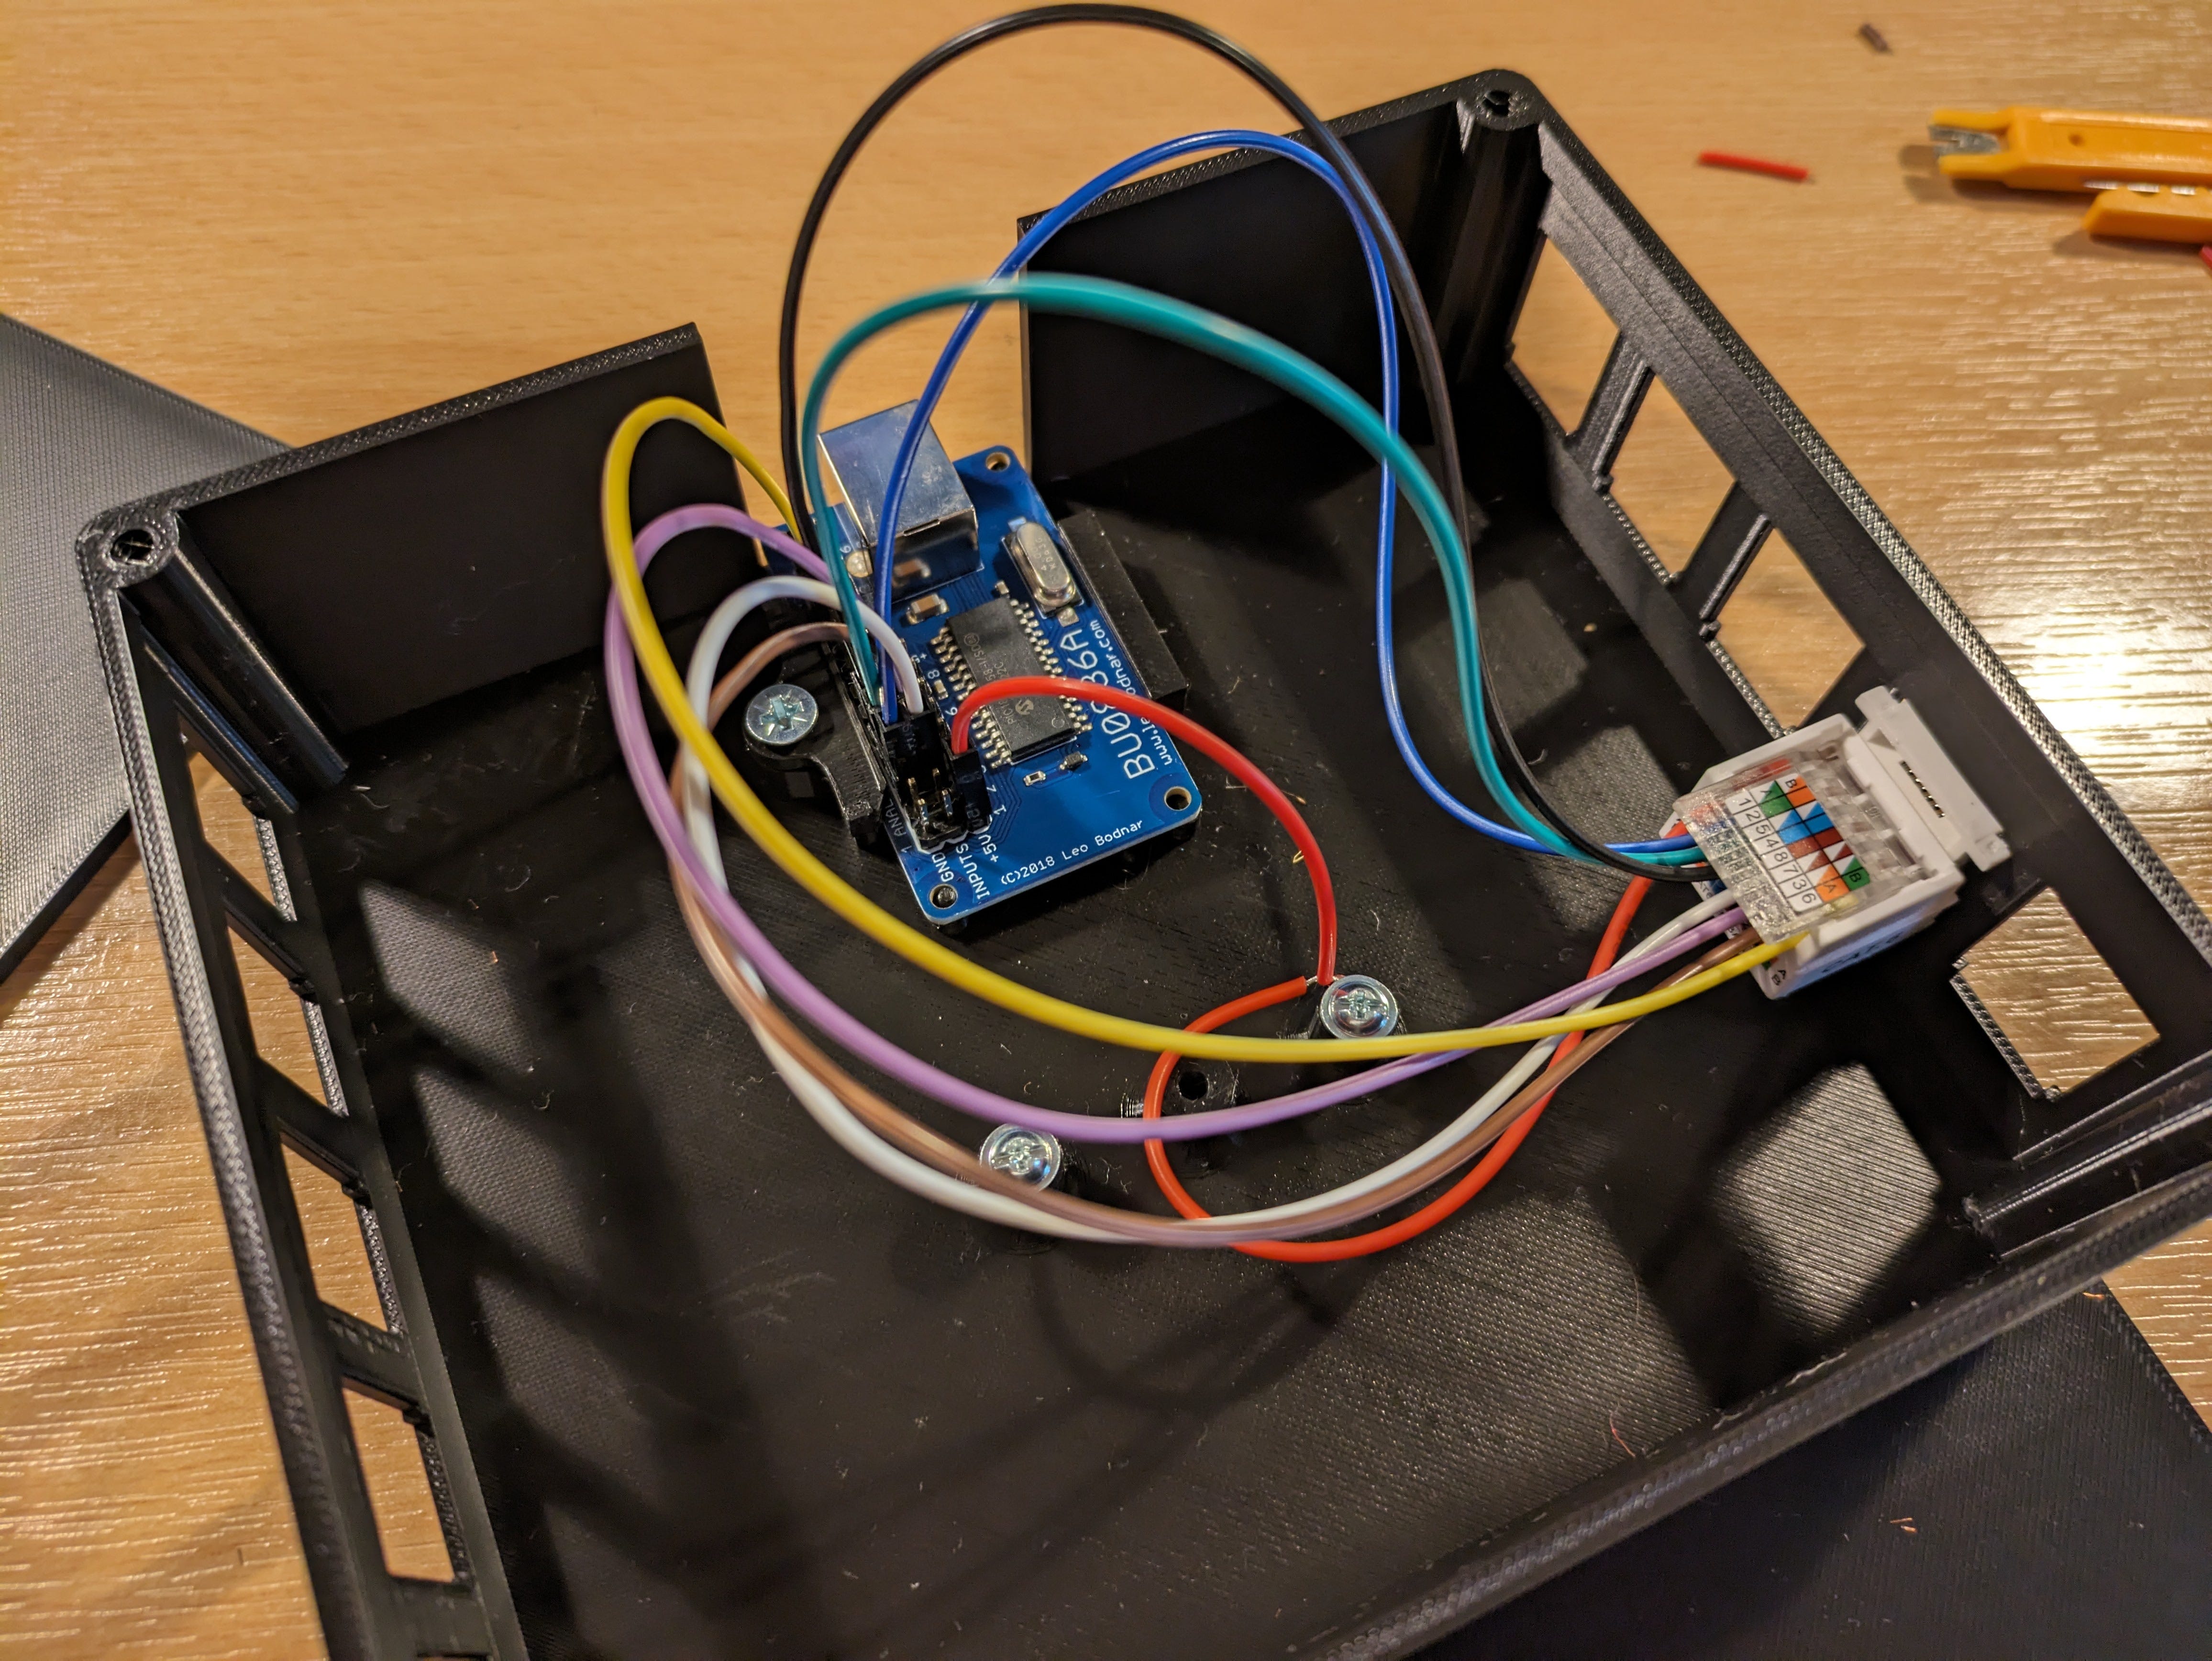
There’s not a lot of building to do with the interface - it has a micro-controller, and an RJ45 connector in it. Wiring it up is very simple - again, following the instructional video. I had to be careful on account of being partially colour-blind, but thankfully made no mistakes.

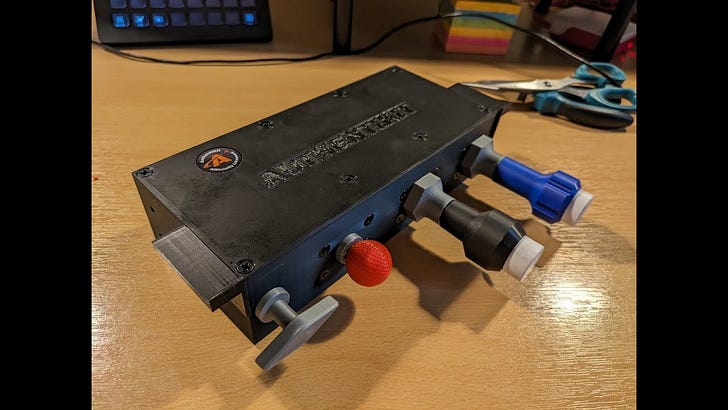
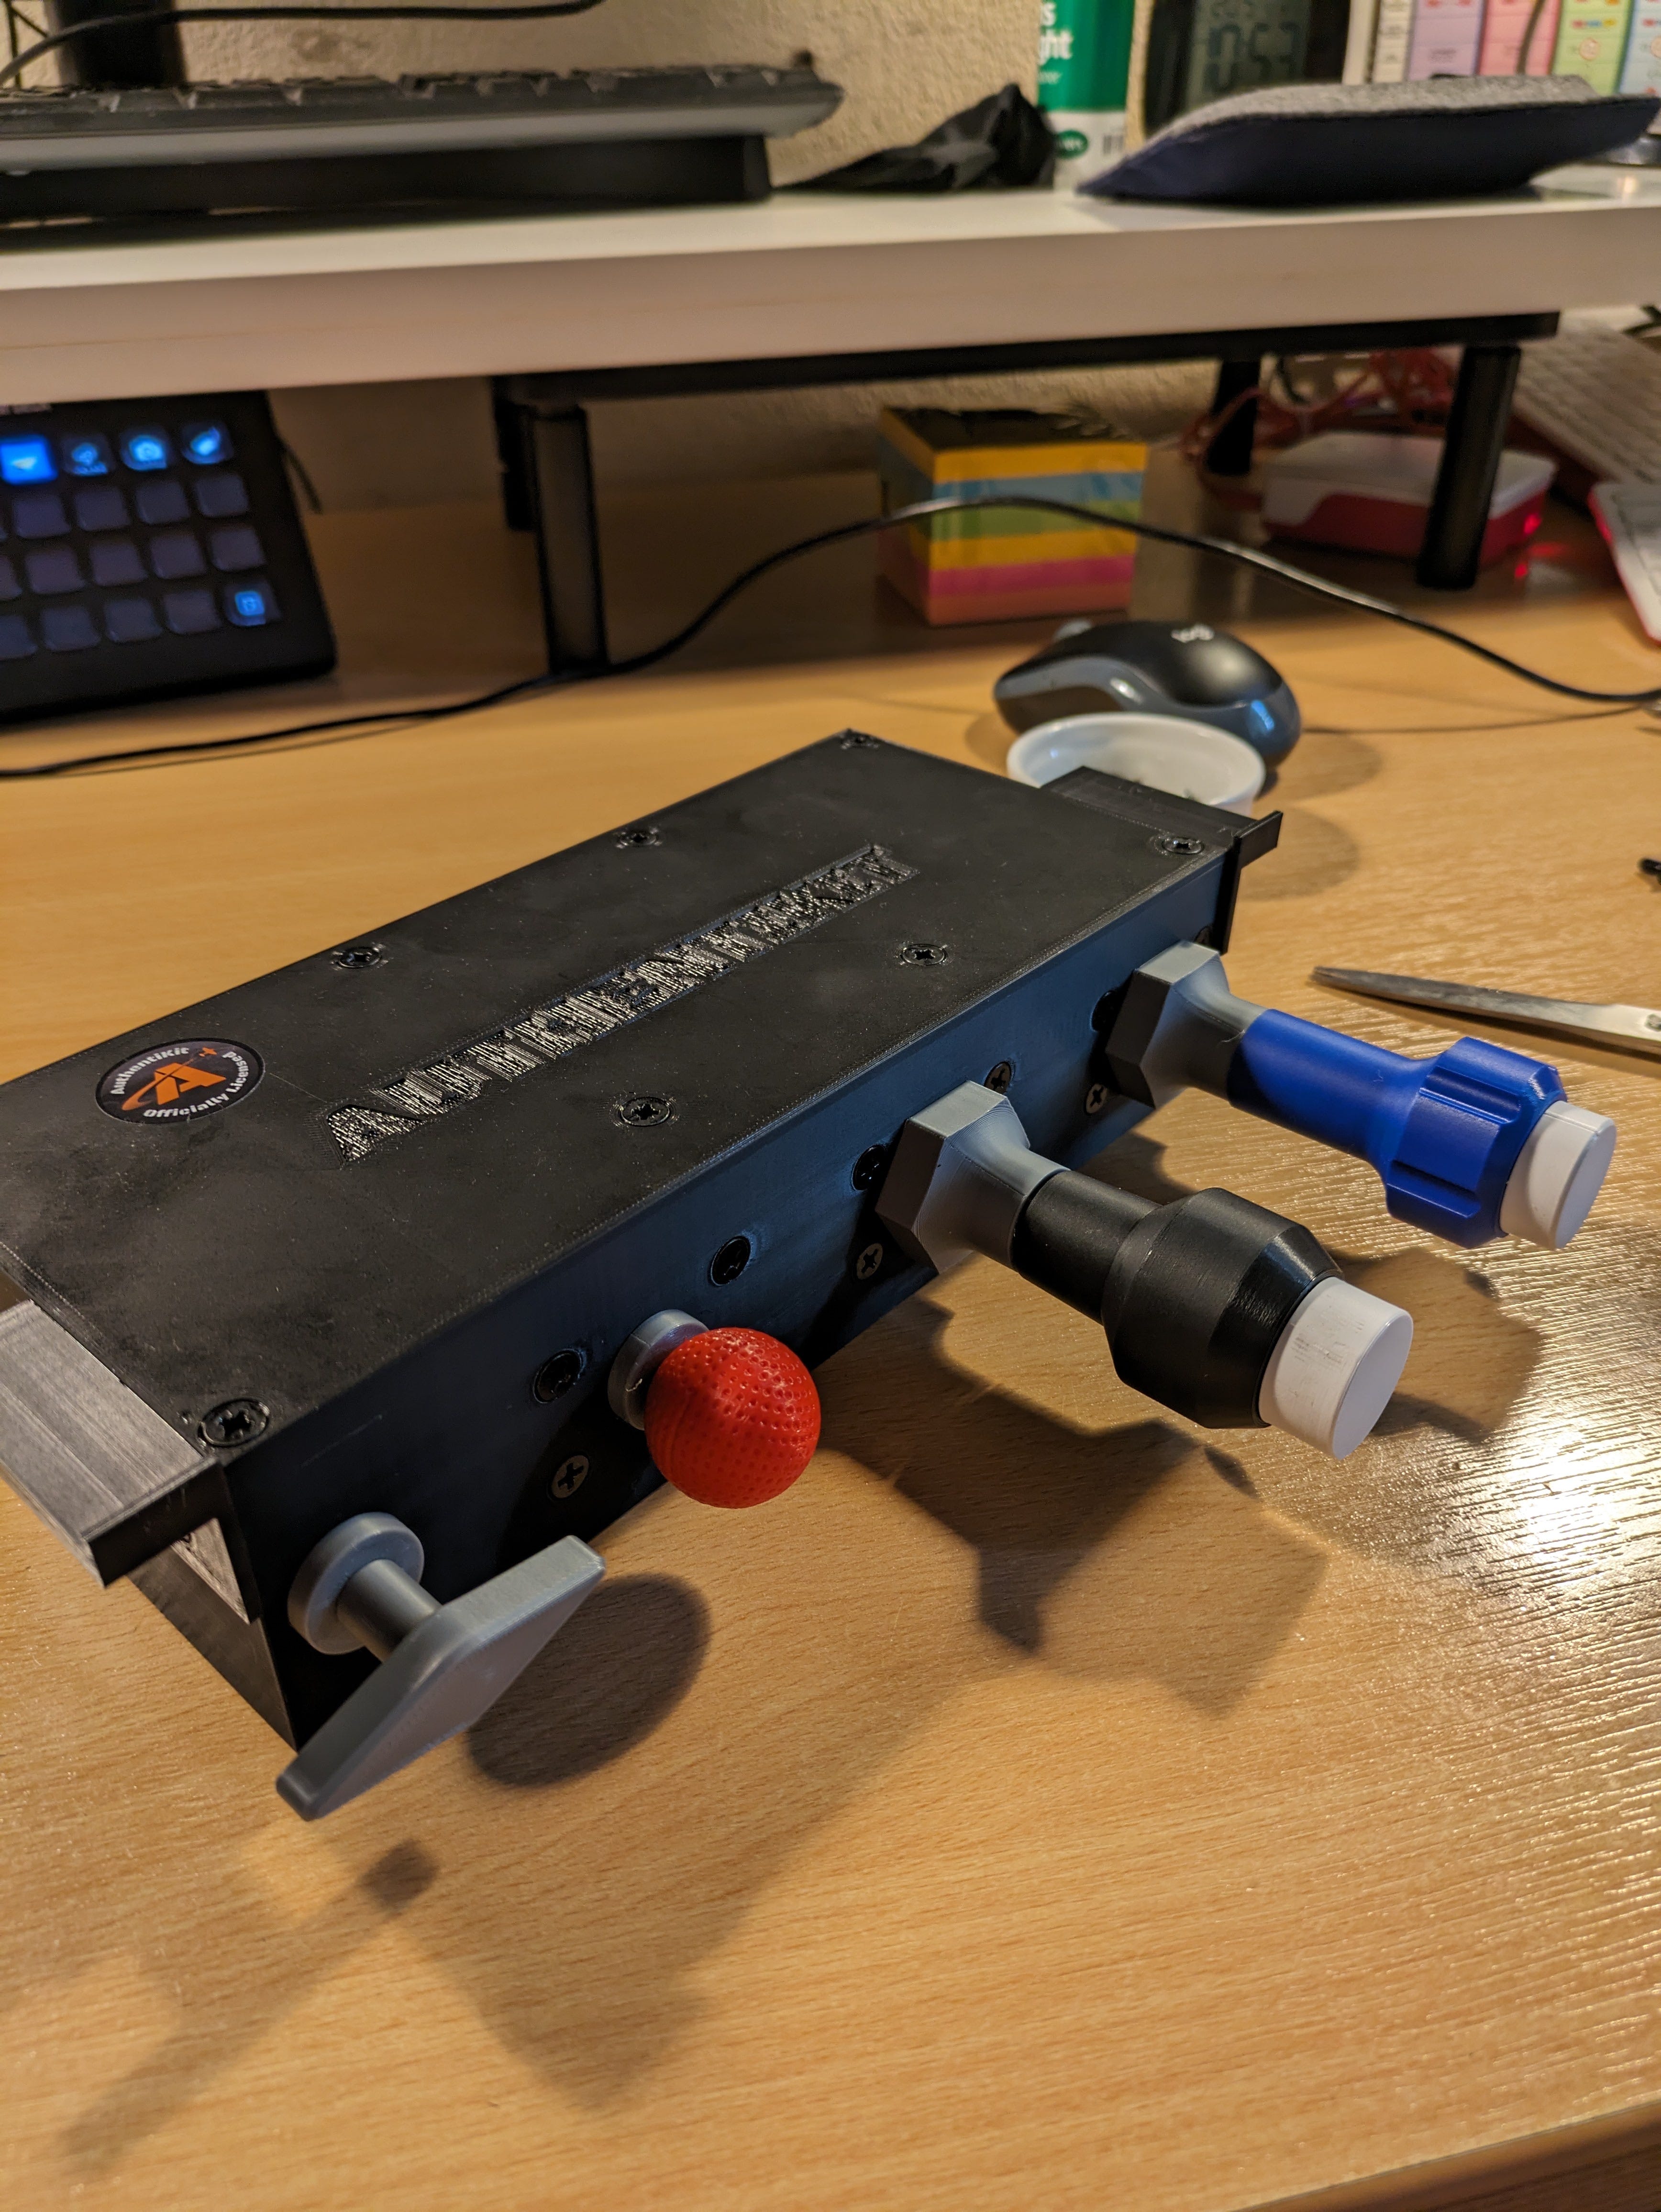
And here it is! The Authentikit TPM module installed on the desk with the supplied clamps. I’m pleased to say it worked first time! After connecting it to the computer via USB and calibrating it, I loaded Flight Simulator and the results are plain for you to see in the video accompanying this post.
There were a couple of hiccups along the way - with me mis-interpreting instructions, and a couple of screws not being pre-packed by SKS - I’m sure these were just early kinks to iron out of the instructions, packaging and distribution. I have to say service and communication with Authentikit throughout has absolutely fantastic - I now have quite the email trail as they followed my build with support and encouragement.
They run their own Discord server too - where they support users of their hardware, and where the community can help each other with tips and advice.
I’ve never considered myself as a “builder” - and perhaps still don’t - but have to admit there was huge satisfaction in seeing both the quality of the final product, and seeing it working perfectly within the simulator too.
Once again - huge thanks to Authentikit - and here’s the links to explore their site and offerings: